Want to make sure your brakes are still good without a trip to the garage? A quick DIY brake check can catch worn pads, thin rotors, or low fluid before they turn into a safety issue. All you need is a few tools, a little patience, and a safe place to work.
Grab a flashlight, a jack and jack stands (or a lift if you have one), a tire‐iron, a ruler or brake‑pad gauge, and a clean rag. If you have a brake‑fluid tester, bring that too – it’s cheap and saves a guess. Make sure the car is on a flat surface, the parking brake is set, and the engine is cool. Safety first, because you’ll be working close to moving parts.
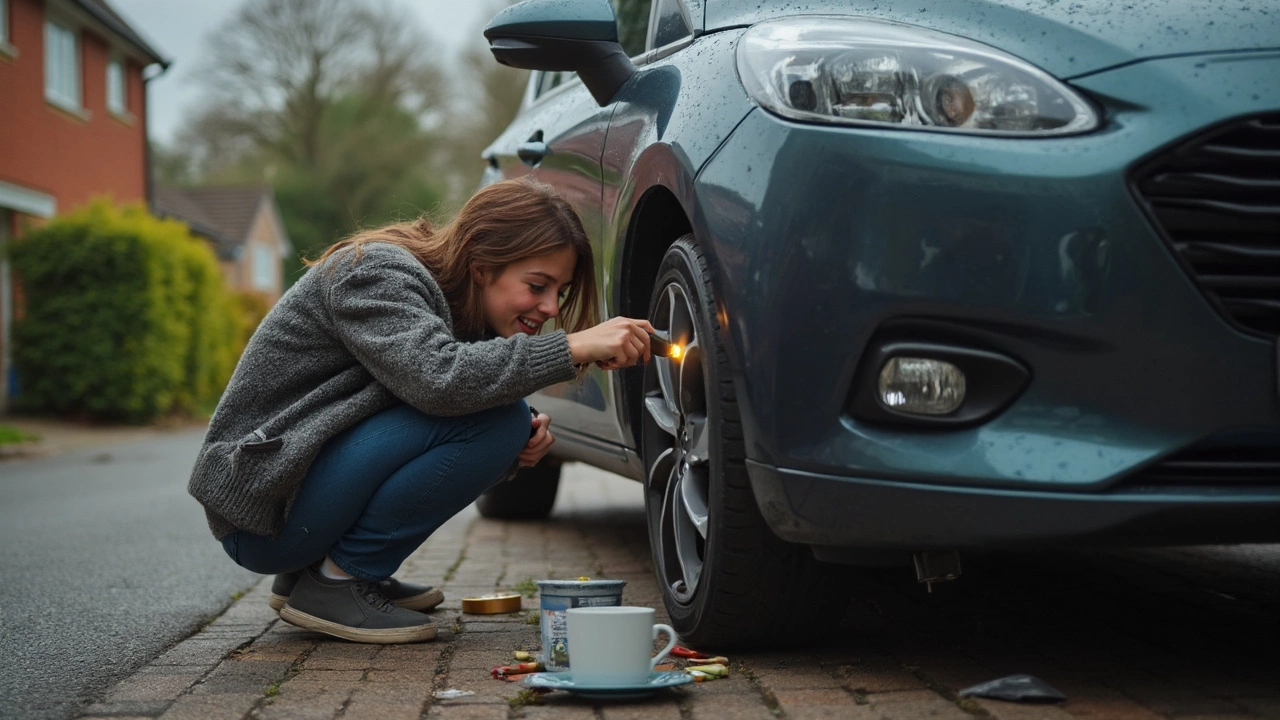
1. Look at the wheel. Remove the wheel so you can see the brake assembly. If the lug nuts are tight, break them loose with the tire‑iron, then lift the car and take the wheel off.
2. Check pad thickness. Spot the brake pads pressed against the rotor. Use a ruler or pad gauge – any pad thinner than 3 mm (about a thumb nail) needs replacement. If the pad material looks uneven or glazed (shiny), that’s a sign of overheating.
3. Inspect the rotor. Spin the rotor by hand. It should turn smoothly without wobbling. Look for deep grooves, cracks, or rust spots bigger than a coin. A rotor that’s scored or under 1 mm thick is ready for a machine or replacement.
4. Test the brake fluid. Open the fluid reservoir (usually a clear plastic bottle near the master cylinder). The fluid should be at or just below the "max" line. If it’s low, top it up with the correct DOT rating fluid. If the fluid looks dark brown, it’s time for a flush.
5. Feel the brake pedal. With the wheel back on and the car on the ground, press the brake pedal slowly. It should feel firm and not sink to the floor. A soft pedal often means air in the lines or a leak.
6. Listen while you drive. Take a short test drive at low speed. Listen for squealing (pads worn) or grinding (metal on metal). If you hear either, stop and re‑inspect the affected wheel.
After you finish, put the wheels back on, tighten the lug nuts in a star pattern, lower the car, and give the bolts a final torque check. You’ve now done a basic brake health check without spending a pound on a shop visit.
Remember, a DIY brake check is great for spotting early wear, but it’s not a substitute for a professional inspection every 12 months or 10,000 miles. If any step feels beyond your comfort zone, call a mechanic – brakes are critical, and it’s better to be safe than sorry.
Keep this checklist in your glove box and run through it whenever you change tires, notice reduced braking power, or just want peace of mind. Regular, simple checks keep your brakes reliable and your wallet happy.