DIY Exhaust System Savings Calculator
Estimate your potential savings based on parts cost, local labor rates, and the tools you already own.
Professional Install
DIY Install
Your Estimated Savings
You’ve got a rattling under your car or a check engine light that won’t quit. The mechanic’s quote for an exhaust system swap makes you wince. It’s often hundreds of pounds just for labor. So, the big question hits: can you actually do this yourself in your driveway?
The short answer is yes, but with a massive asterisk. Installing an exhaust isn’t rocket science, but it’s not exactly changing a tire either. It involves rust, heavy parts, and specific tools. If you’re handy, have decent upper body strength, and don’t mind getting dirty, you can save serious cash. But if you skip steps or use the wrong torque specs, you might end up with a loud drone or a failed MOT test.
What Does an Exhaust System Actually Do?
Before you grab a wrench, you need to know what you’re dealing with. An exhaust system isn’t just one pipe; it’s a chain of components working together to manage hot gases from the engine. Each part has a job, and failing one affects the whole flow.
Catalytic Converter is a critical emissions control device that reduces harmful pollutants like carbon monoxide and nitrogen oxides before they leave the tailpipe. It sits near the engine and gets incredibly hot. If you remove it, your car will fail emissions tests in most places, including the UK’s MOT.
Downstream from the converter, you’ll find the Muffler, which is a chamber designed to dampen sound waves by reflecting them against internal baffles. Without a muffler, your car sounds like a drag racer at idle, which annoys neighbors and fails noise regulations.
Connecting these are the Exhaust Pipes, which are metal tubes that transport gases from the manifold to the rear of the vehicle. These pipes often develop holes from road salt and moisture, leading to leaks that reduce fuel efficiency and increase noise.
| Component | Primary Function | Common Failure Sign |
|---|---|---|
| Catalytic Converter | Reduces toxic emissions | Rattling noise (broken internals) |
| Muffler | Reduces noise levels | Loud rumbling or visible rust holes |
| Exhaust Manifold | Collects gases from cylinders | Smell of burning oil or ticking sound |
| Oxygen Sensor | Monitors air-fuel ratio | Check Engine Light on |
| Hangers & Gaskets | Support system & seal joints | Sagging pipe or hissing leak |
Do You Have the Right Tools?
This is where most DIYers get stuck. You cannot install an exhaust with just a standard socket set. Exhaust bolts seize due to heat cycles and corrosion. You need leverage and cutting power.
- Penetrating Oil: Brands like PB Blaster or WD-40 Specialist are essential. Spray every bolt and joint at least 30 minutes before starting. Reapply if needed.
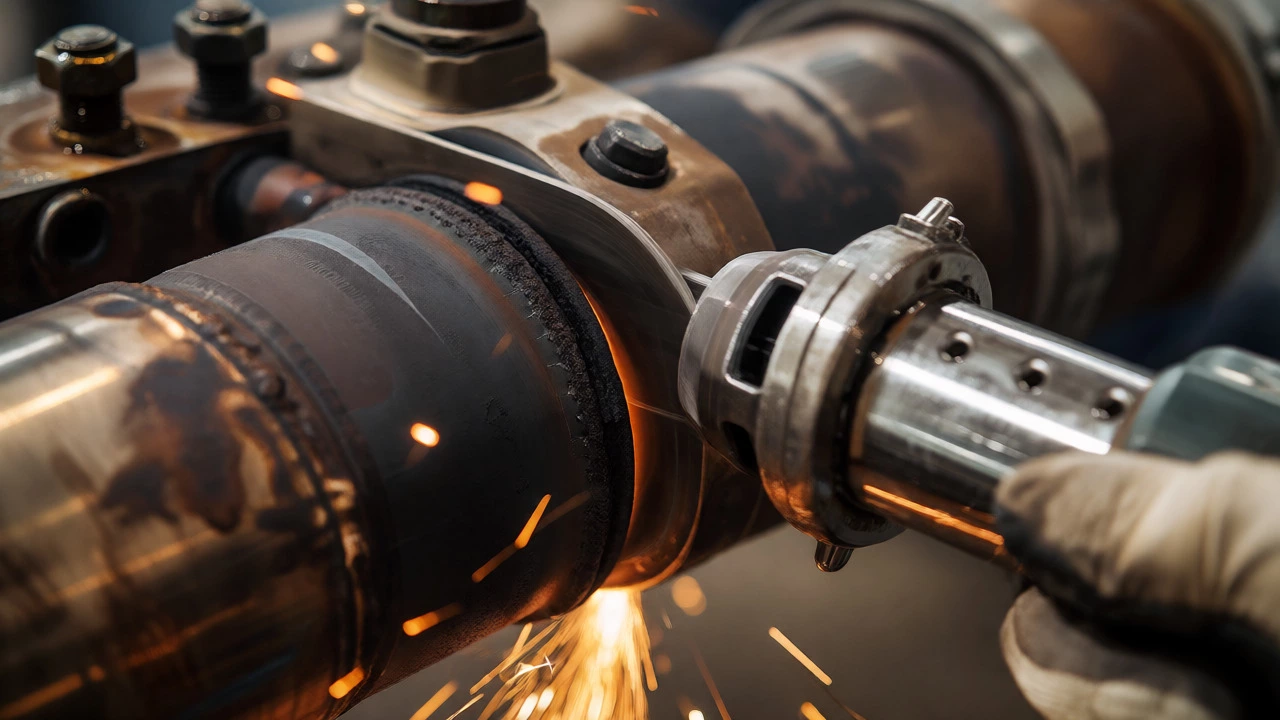
- Reciprocating Saw (Sawzall): This is non-negotiable for removing old clamps and cutting through rusted bolts. Buy fresh bi-metal blades specifically for metal cutting.
- Torque Wrench: Over-tightening flange bolts cracks them. Under-tightening causes leaks. You need a calibrated torque wrench to hit manufacturer specs.
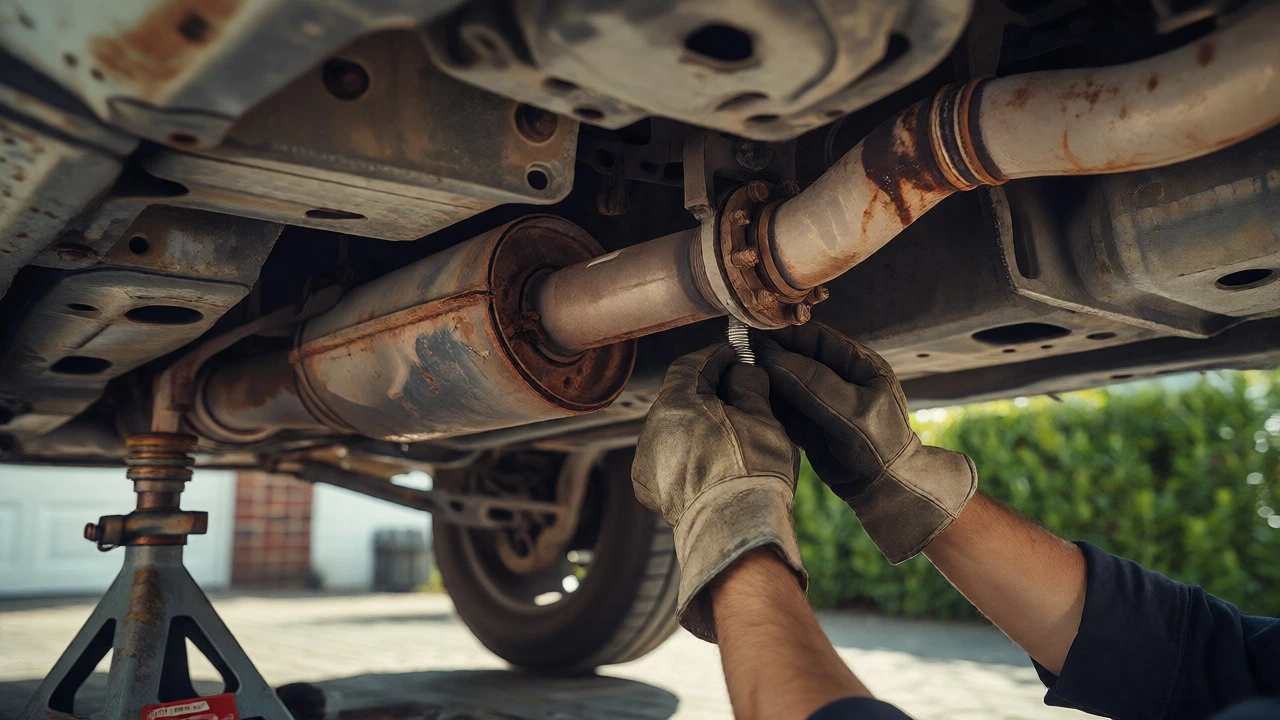
- Jack Stands and Ramps: Never work under a car supported only by a hydraulic jack. Use ramps for easy access or stands for stability.
- Anti-Seize Compound: Apply this to new threads to prevent future seizing. Copper-based anti-seize works well for high-heat areas.
If you lack these tools, buying them might cost more than the shop labor. However, if you already own them, the savings are real. A basic exhaust kit costs £150-£400, while labor alone can run £200-£500 depending on complexity.
Step-by-Step Installation Process
Start by lifting the car safely. Let the exhaust cool completely. Hot pipes burn skin instantly. Once safe, locate the connection points. Most systems bolt together using flanges or slip-fit clamps.
- Remove Old Parts: Spray penetrating oil on all bolts. Wait. Use the reciprocating saw to cut through seized bolts or old clamps. Be careful not to damage the new oxygen sensor wires if they’re attached nearby.
- Prepare New Gaskets: Clean the mating surfaces on the manifold and downpipe with a wire brush. Any dirt left behind will cause leaks. Fit new gaskets between flanges. Never reuse old ones.
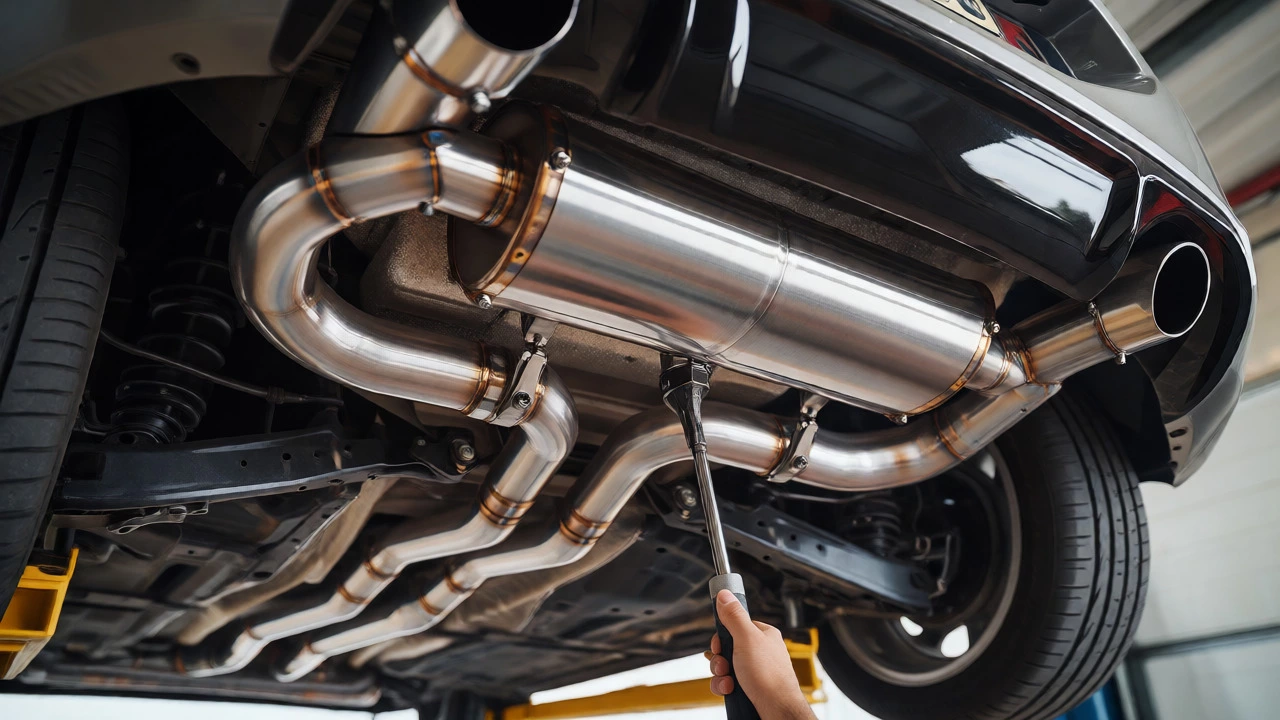
- Position the System: Lift the new exhaust into place. Align the hangers first. They support the weight. If you bolt everything tight before aligning hangers, you’ll twist the pipes and create stress points.
- Bolt Up Flanges: Insert bolts loosely. Tighten in a star pattern to ensure even pressure. Torque to spec-usually around 20-30 Nm for small flanges, but check your manual.
- Secure Clamps: For slip-fit sections, tighten band clamps evenly. Don’t overtighten; you might crush the pipe. Just snug enough to stop movement.
- Final Check: Start the engine. Listen for hissing sounds. Look for smoke at joints. A small puff of white smoke initially is normal as oils burn off, but continuous smoke means a leak.
When Should You Call a Pro?
There are scenarios where DIY is a bad idea. If your car has a complex turbocharged setup, the exhaust manifold might be integrated with the turbocharger. Removing that requires disconnecting coolant lines and oil feeds. One mistake there leads to expensive repairs.
Also, consider welding. Some performance exhausts require custom welding for perfect fitment. If you don’t have a welder, stick to bolt-on kits. Another red flag is rusted-out subframe mounts. If the rubber hangers are perished and the metal tabs are gone, you might need to fabricate new brackets. That’s metalwork, not just swapping parts.
In Bristol, many independent garages offer "bring your own part" services. They’ll charge half the rate for installation since you provided the hardware. Compare quotes. Sometimes paying £80 for professional installation is worth avoiding a weekend of frustration and potential leaks.
Post-Installation Tips and Common Mistakes
After driving home, re-check your bolts after 50 miles. Heat expansion settles the system. Also, watch for the smell of sulfur or rotten eggs. That indicates the catalytic converter isn’t heating up properly or is defective. New converters sometimes need a few hundred miles to reach optimal temperature during regular driving cycles.
A common mistake is ignoring the oxygen sensors. When removing the old exhaust, unplug the O2 sensors carefully. Don’t pull the wires. If you snap a connector, you’ll need a new sensor, adding £50-£100 to the bill. Label them with tape so you plug them back into the correct ports.
Another pitfall is poor clearance. Ensure the new pipe doesn’t touch the fuel tank, brake lines, or suspension components. Vibration over time will rub through metal shields and cause leaks or worse, puncture a fuel line.
How long does it take to install an exhaust system?
For a straightforward cat-back system on a common car like a Ford Focus or VW Golf, expect 2-4 hours if you’re experienced. Beginners should budget 4-6 hours, mostly spent fighting rusted bolts. Complex systems with manifolds or turbos can take a full day.
Is it cheaper to install my own exhaust?
Yes, significantly. Labor rates in the UK average £60-£100 per hour. Since installation takes 2-4 hours, you save £120-£400. However, factor in tool costs if you don’t own a saw or torque wrench. If you buy new tools, the break-even point might be two or three jobs.
Can I drive without a catalytic converter?
Technically, yes, the car will run. But it’s illegal for road use in the UK and most countries because it fails emissions standards. You’ll also get a Check Engine Light, which can mask other issues. Plus, you’ll smell raw exhaust fumes.
What are the signs of a bad exhaust system?
Loud noises, reduced fuel economy, strong smells inside the cabin, rattling sounds when accelerating, and a dark black residue under the car. A check engine light related to P0420 codes often points to catalytic converter failure.
Do I need special gloves for exhaust work?
Yes. Exhaust pipes get extremely hot, often exceeding 200°C. Standard cotton gloves won’t protect you. Use heat-resistant mechanic gloves or thick leather welding gloves to prevent burns when handling pipes or touching the manifold area.