Brake Health Diagnostic Tool
1. Check Symptoms
Select the issues you are experiencing:
2. Measure Thickness
Diagnosis
Select symptoms or enter measurements above to see results.
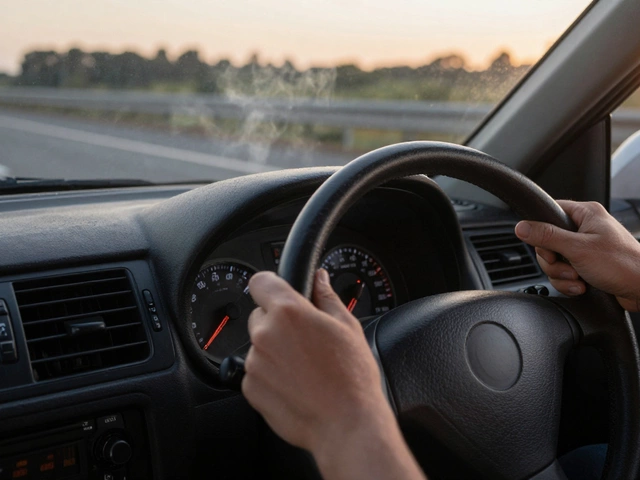
There is a specific vibration that travels up through the steering wheel when you tap the brakes. It feels like your car is shivering. For most drivers in Bristol, this is the moment panic sets in. You might think it’s just worn brake pads, but often, the problem runs deeper. The issue usually lies with the brake discs (also known as rotors). These metal discs are the unsung heroes of your braking system, turning kinetic energy into heat to slow you down. When they fail, nothing else matters.
Knowing when to replace them isn’t just about comfort; it’s about safety. A failed brake disc can lead to longer stopping distances or complete brake failure. In this guide, we’ll break down exactly how to spot the warning signs, measure the wear yourself, and decide whether you need a quick fix or a full replacement.
The Three Main Warning Signs
You don’t need a mechanic’s degree to know if your brakes are struggling. Your car will tell you. Listen for these three distinct signals.
- Vibration in the Steering Wheel: If the steering wheel shakes specifically when you apply the brakes at speed (above 30 mph), your front brake discs are likely warped. Warping happens when discs overheat and cool unevenly, causing them to lose their flat surface. The caliper then grabs the high spots, creating that pulsating feel.
- Squealing or Grinding Noises: Most modern cars have a small metal tab on the brake pads called a wear indicator. When the pad wears down to a critical level, this tab scrapes against the disc, creating a high-pitched squeal. If you hear a deep grinding sound, the pad material is gone, and the metal backing plate is scoring the disc. This causes severe damage that requires immediate attention.
- Pulling to One Side: If your car pulls sharply to the left or right when braking, one side of the braking system isn’t working as hard as the other. This could be a stuck caliper, but it often indicates that one brake disc is significantly more worn or contaminated than the other.
Visual Inspection: What to Look For
If you hear noise or feel vibration, take a closer look. You don’t need to jack up the car immediately. Just spin the wheels by hand (with the car in neutral and the handbrake off) and look through the spokes of your alloy wheels.
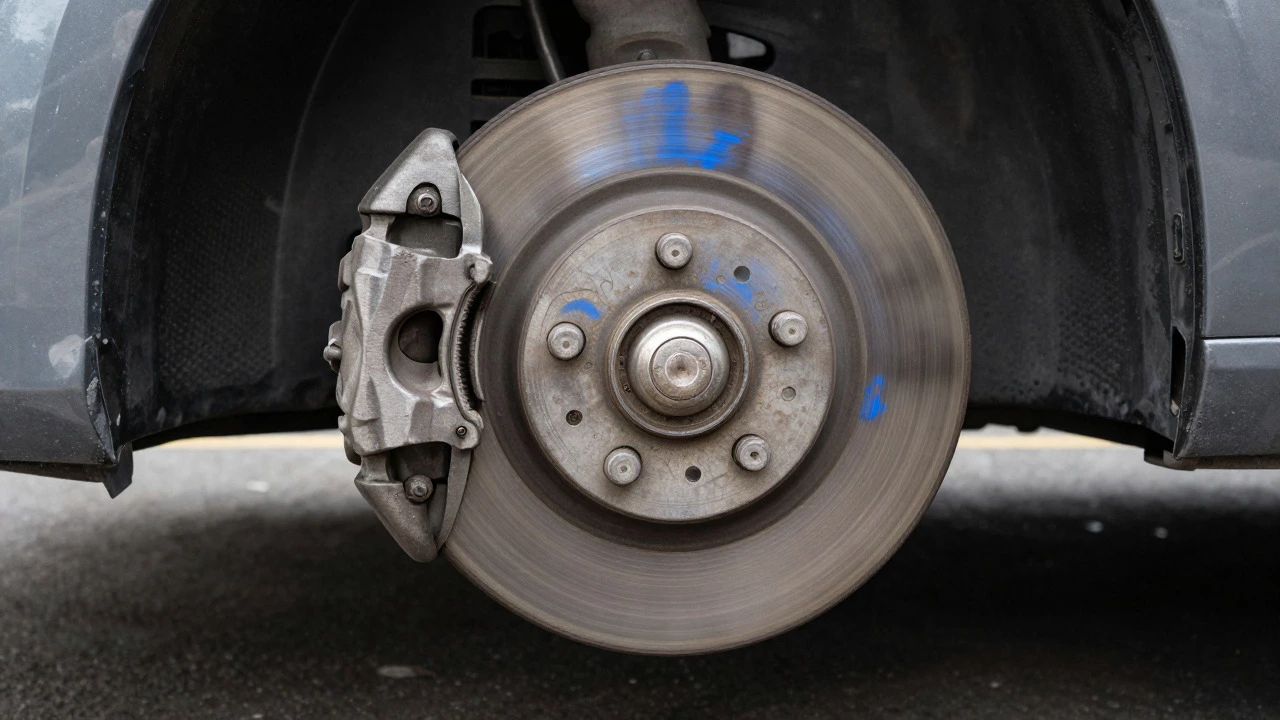
- Scoring and Grooves: Run your finger lightly over the face of the disc (when cold). If you feel deep grooves or ridges, the disc is scored. Light scoring is normal, but deep cuts reduce the friction surface and can cause uneven braking.
- Blue Discoloration: Healthy brake discs are grey. If you see blueish patches, the disc has been overheated. Heat changes the metallurgy of the steel, making it weaker and prone to warping. Blue spots mean the disc needs replacing.
- Cracks: This is rare but dangerous. Look for hairline cracks radiating from the center or edge. Any crack means the disc must be replaced immediately. Driving on a cracked disc risks catastrophic failure.
- Lip Formation: Feel the edge of the disc where it meets the hub. If there is a sharp, raised lip, the disc has worn down significantly. While some lips are acceptable, a large lip indicates the disc is nearing its minimum thickness limit.
Measuring Thickness: The Definitive Test
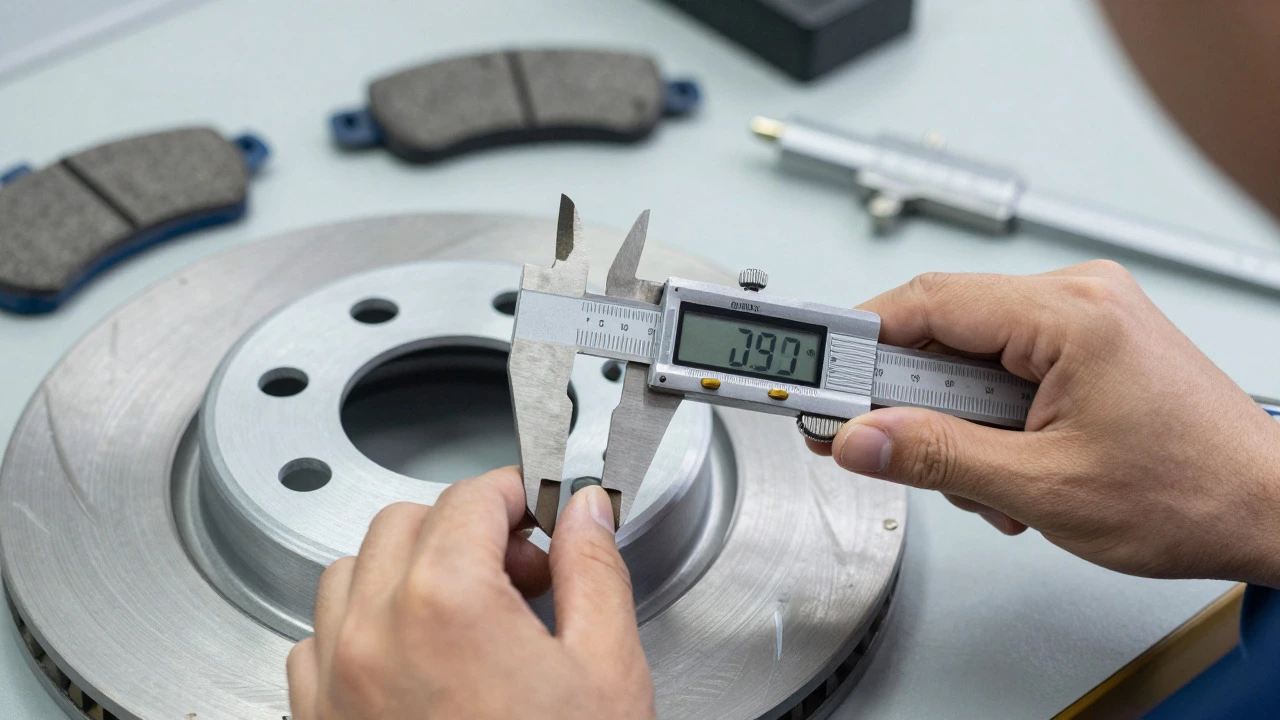
Visual checks are good, but measurements are better. Every brake disc has a minimum thickness stamped onto the hat section (the central part that mounts to the hub). This number is usually marked as "MIN THK" followed by a measurement in millimeters (e.g., MIN THK 22.0).
To check this, you need a micrometer or a vernier caliper. Here is how to do it correctly:
- Clean the Surface: Wipe away any brake dust or rust from the friction surface.
- Measure Multiple Points: Take measurements at different points around the disc, avoiding the very edge and the center vent holes if present. Aim for the area where the brake pad contacts the disc.
- Compare to Minimum: If your measurement is at or below the "MIN THK" value, the disc must be replaced. Do not skimp here. Running a disc below its minimum thickness reduces its ability to dissipate heat, leading to brake fade.
- Check Runout: Advanced mechanics also check for "runout"-how much the disc wobbles as it spins. If the runout exceeds 0.05mm, the disc may need resurfacing or replacement, even if it looks fine.
| Vehicle Type | Typical New Thickness | Minimum Safe Thickness | Action Required |
|---|---|---|---|
| Small Hatchback (e.g., Ford Fiesta) | 24.0 mm | 22.0 mm | Replace if ≤ 22.0 mm |
| Family SUV (e.g., Nissan Qashqai) | 28.0 mm | 26.0 mm | Replace if ≤ 26.0 mm |
| Sports Car (e.g., Mazda MX-5) | 30.0 mm | 27.0 mm | Replace if ≤ 27.0 mm |
Should You Resurface or Replace?
In the past, mechanics often "skived" or resurfaced brake discs on a lathe to remove minor imperfections. Today, this practice is falling out of favor for several reasons.
First, many modern brake discs are coated with a thin layer of zinc or paint to prevent rust during storage. Resurfacing removes this coating, leaving the bare steel exposed to moisture. In our damp UK climate, this leads to rapid corrosion. Second, resurfacing makes the disc thinner. If the disc is already close to its minimum thickness, resurfacing will push it below the safe limit.
Unless the disc is brand new and slightly out of spec, or you are dealing with expensive performance parts, replacement is almost always the better option. New discs ensure optimal braking performance and safety. They are also relatively inexpensive compared to the cost of a call-out fee for a roadside breakdown.
The Importance of Replacing in Pairs
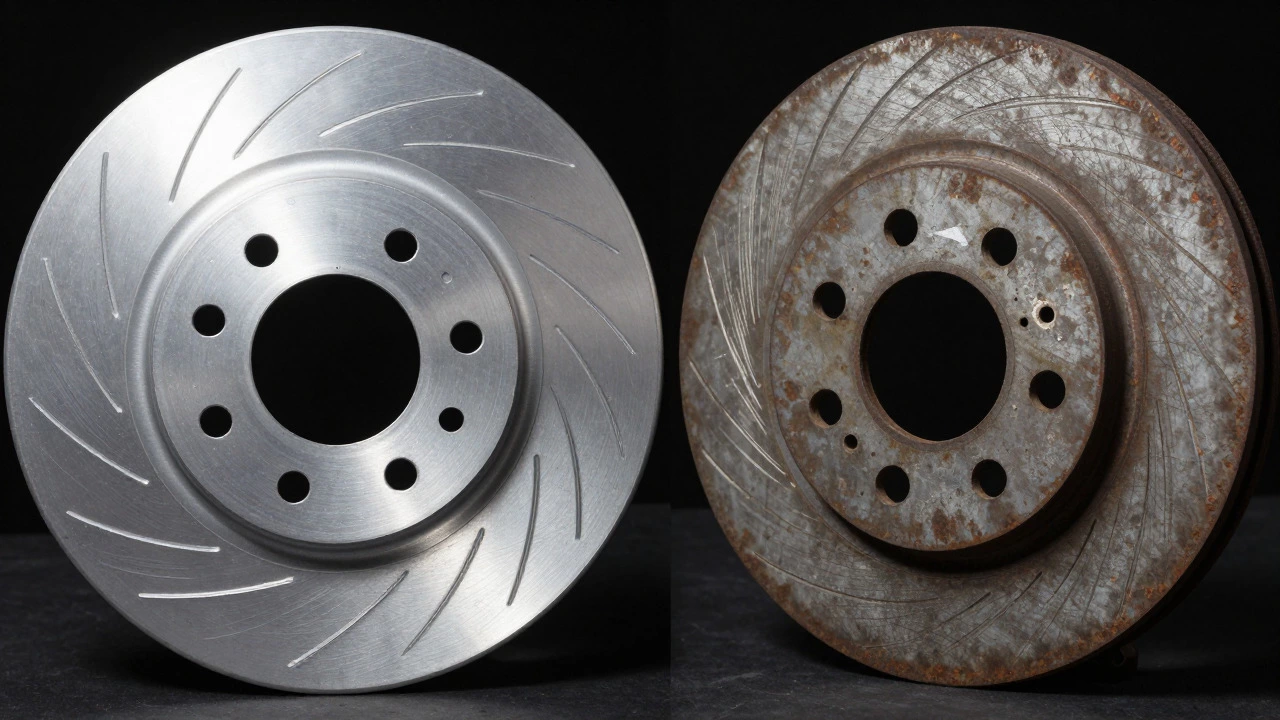
A golden rule in brake maintenance: never replace just one brake disc. Always replace them in pairs on the same axle. If you replace the left front disc but keep the old right front disc, the braking force will be uneven. The new disc will grab harder, pulling the car to the left every time you brake. This creates handling issues and accelerates wear on the new component.
Furthermore, you should always replace the brake pads at the same time as the discs. Old pads have embedded particles from the old disc surface. Putting new pads on old discs (or vice versa) prevents proper bedding-in, leading to noise and reduced efficiency. Think of it like putting new tires on an old suspension-the whole system needs to work together.
DIY vs. Professional Help
Replacing brake discs is a moderate DIY task. You will need a jack, axle stands, a breaker bar, and possibly a hammer to free the caliper bolts. However, there are risks.
If you are not confident in jacking up your vehicle safely, leave it to a professional. Improperly secured vehicles can collapse, causing serious injury. Additionally, bleeding the brake lines after installation requires care to avoid air bubbles in the system, which can lead to a spongy pedal and poor braking.
If you choose to do it yourself, follow these steps: 1. Loosen the wheel nuts before lifting the car. 2. Remove the wheel and unbolting the caliper. 3. Hang the caliper securely with wire; never let it dangle by the brake hose. 4. Remove the old disc. If it’s seized, clean the hub surface first. 5. Install the new disc and pads. 6. Reassemble and pump the brake pedal until firm before driving.
Maintaining Your Brakes for Longevity
Prevention is cheaper than cure. How you drive affects brake life significantly. Here are some tips to extend the life of your brake discs:
- Engine Braking: Downshift before approaching a long hill. Using the engine to slow down reduces heat buildup in the brakes.
- Avoid Riding the Brake: Keep your foot off the pedal when coasting. Constant light pressure generates heat without stopping the car effectively.
- Warm Up Cold Brakes: After washing your car or driving through deep water, gently apply the brakes a few times to dry them off. Wet brakes corrode faster and brake less effectively.
- Regular Inspections: Check your brakes every time you change your oil. It takes five minutes and can save you hundreds in repairs later.
Frequently Asked Questions
How often should brake discs be replaced?
There is no fixed mileage interval for brake disc replacement. It depends entirely on driving style and conditions. City driving with frequent stops wears discs faster than highway cruising. On average, brake discs last between 50,000 and 70,000 miles, but some can go longer. Always rely on visual inspection and thickness measurements rather than mileage alone.
Can I drive with warped brake discs?
You can drive short distances to a repair shop, but you should not ignore warped discs. Warping increases wear on your brake pads and reduces braking efficiency. Over time, the vibration can damage other components like wheel bearings or suspension bushings. It is unsafe to continue driving if the vibration is severe or if you experience brake fade.
Why do my brakes smell like burning?
A burning smell usually indicates overheating. This can happen if you’ve been driving downhill for a long period, towing a heavy load, or if a brake caliper is stuck and dragging. Overheating glazes the brake pads and warps the discs. If the smell persists after cooling down, have your brakes inspected immediately for stuck calipers or worn components.
Do I need to replace all four brake discs at once?
It is recommended to replace brake discs in pairs on the same axle (both fronts or both rears). You do not necessarily need to replace all four at the same time unless they are all near their minimum thickness. However, replacing all four ensures consistent braking performance across the entire vehicle and is often more cost-effective in the long run.
What is the difference between solid and ventilated brake discs?
Solid brake discs are single pieces of metal, typically used on rear wheels where braking force is lower. Ventilated brake discs have two layers with fins in between, allowing air to flow through and cool the disc more effectively. They are standard on front wheels and high-performance vehicles because they handle higher temperatures and resist warping better.