Radiator Replacement Difficulty & Cost Estimator
1. Vehicle Profile
2. Tools & Parts Check
Check off the tools you currently have ready. Missing tools increase difficulty.
Includes draining, bleeding, and installation
Recommended Action
Missing Tools Checklist
There is a persistent myth in the garage that changing a car radiator is a job reserved for professional mechanics. The reality is far more nuanced. For many vehicles, it is a straightforward weekend project. For others, it is a nightmare of hidden bolts and tight spaces. Knowing which side of the line your car falls on can save you hundreds of pounds in labor costs or prevent a disastrous leak under the hood.
The core issue isn't just swapping one metal box for another. It involves draining the coolant, disconnecting hoses, managing electrical connections, and dealing with the specific layout of your engine bay. If you have basic mechanical aptitude and the right tools, you are likely capable of handling this task. But "capable" doesn't always mean "easy." Let's break down exactly what makes this job hard or easy, depending on your vehicle.
Why Radiator Replacement Varies So Much
The difficulty of replacing a radiator depends heavily on the car's design philosophy. Older cars from the 1990s and early 2000s often had radiators positioned at the very front of the engine bay, accessible without removing major components. You could reach in, unbolt four nuts, and swap the unit in an hour. Modern cars, however, prioritize crash safety and aerodynamics. This means the radiator is often buried behind the bumper, grille, and various plastic shrouds.
Consider the difference between a classic Ford Focus and a modern BMW 3 Series. On the older Focus, you might only need to remove the upper radiator hose and a few clips. On the BMW, you may need to remove the entire front bumper assembly, the intercooler, and potentially the fan shroud before you even see the top of the radiator. This adds hours to the job and increases the risk of snapping plastic clips or damaging sensors.
- Front-engine cars: Generally easier if the radiator is not behind the bumper. Harder if it is integrated into the front crash structure.
- Rear-engine cars: Extremely rare for passenger cars, but when present (like some Porsches), access is usually limited to the rear trunk area, making fluid drainage tricky.
- SUVs and Trucks: Often have larger radiators and higher mounting points. Access can be good, but the weight of the component makes it physically demanding.
The Hidden Challenges: Coolant and Electricals
Even if the physical access is fine, two other factors can make the job difficult: coolant management and electrical connections. Radiators aren't just passive heat exchangers anymore. They are part of a smart cooling system. Many modern radiators have electronic temperature sensors, thermostat housings, and even electric fans mounted directly to them.
If you unclip a sensor wire incorrectly, you might damage the connector. If you don't drain the old engine coolant properly, you risk air locks in the system, which can cause overheating later. Air locks are frustrating because they require bleeding the system multiple times to ensure all pockets of air are expelled. This is where the "difficulty" rating jumps up for inexperienced DIYers.
Additionally, the transmission cooler lines on automatic cars run through or near the radiator. These lines carry high-pressure fluid. If you bend them while maneuvering the new radiator, they can crack and leak transmission fluid, leading to expensive gearbox repairs. Careful handling is non-negotiable here.
Tools You Actually Need
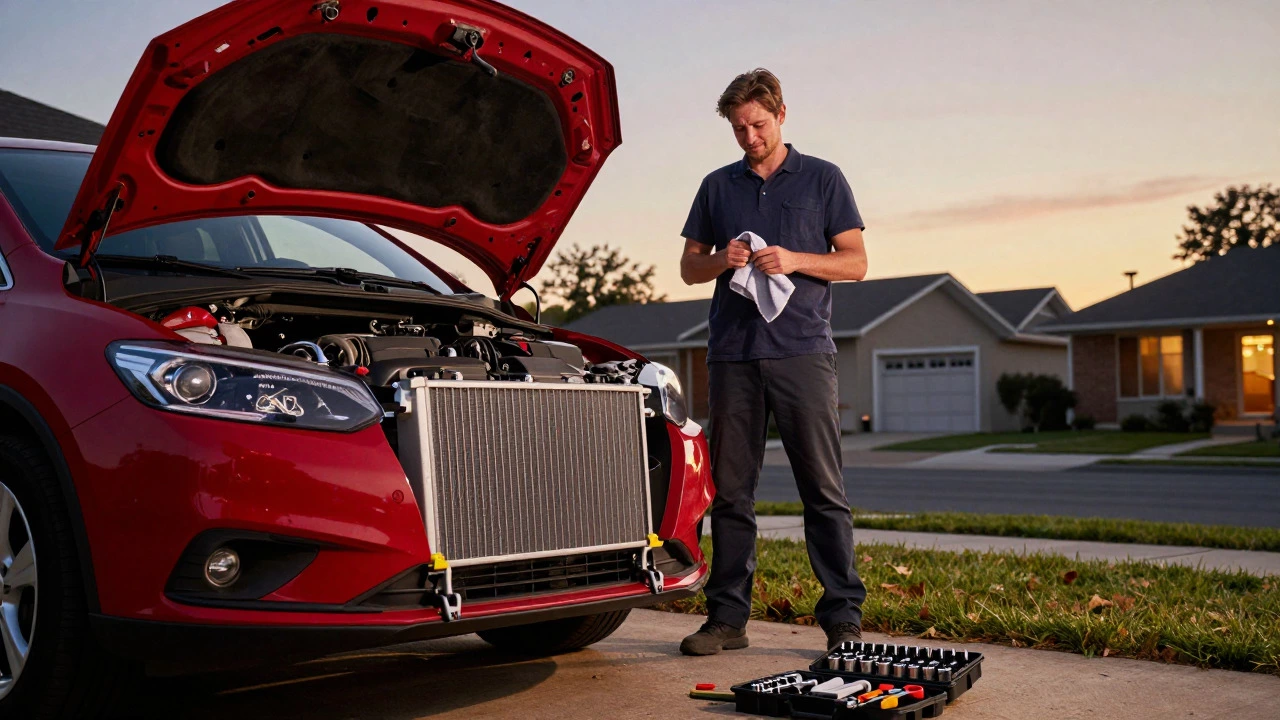
You don't need a full mechanic's workshop to do this job, but you do need specific tools. A standard home toolkit might lack the specialized wrenches required for radiator fittings. Here is a realistic list of what you should have ready before you start:
- Socket set: Including metric sizes (usually 10mm, 13mm, and 14mm for most European cars). Torx bits are also common for plastic fasteners.
- Hose clamp pliers: Essential for loosening the rubber hose clamps. Standard screwdrivers often slip and strip the clamps.
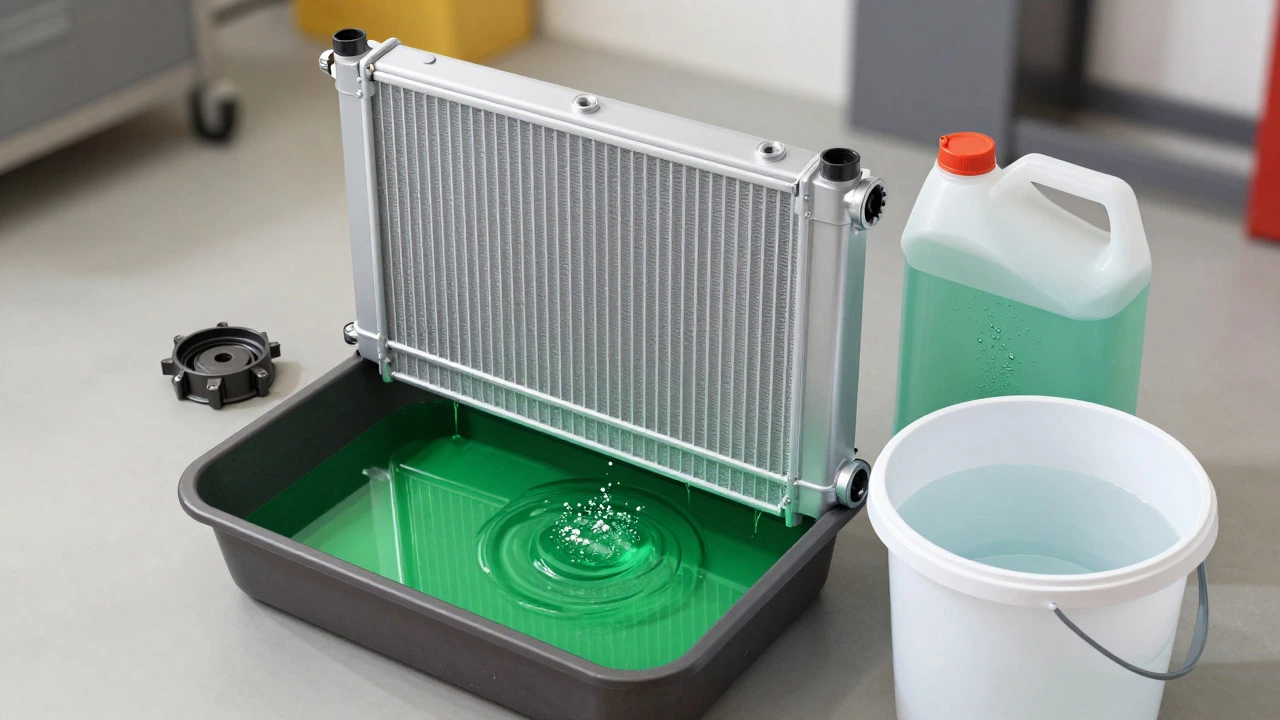
- Coolant recovery pan: To catch the old fluid. While you can use a bucket, a proper pan keeps the mess contained.
- Jack and stands: If the lower radiator hose is routed low, you may need to lift the car to access the bottom drain plug or hose connection.
- New coolant and water: Don't forget to buy the correct type of coolant specified by your car manufacturer. Mixing types can cause sludge formation.
If you are missing any of these, the job becomes significantly harder. Borrowing a jack from a neighbor is fine, but trying to work without the right socket size will lead to stripped bolts and frustration.
Step-by-Step Difficulty Assessment
To help you gauge the effort involved, let's look at the typical steps and where the friction points lie. This process applies to most front-engine vehicles, though specifics vary by model.
Step 1: Preparation and Drainage
This is the easiest part. Park the car on level ground, let the engine cool completely (hot coolant burns badly), and open the radiator cap. Then, locate the drain plug at the bottom of the radiator or block. Place your pan underneath and open the plug. This takes about 15 minutes. The difficulty here is minimal, provided you know where the drain plug is.
Step 2: Disconnection
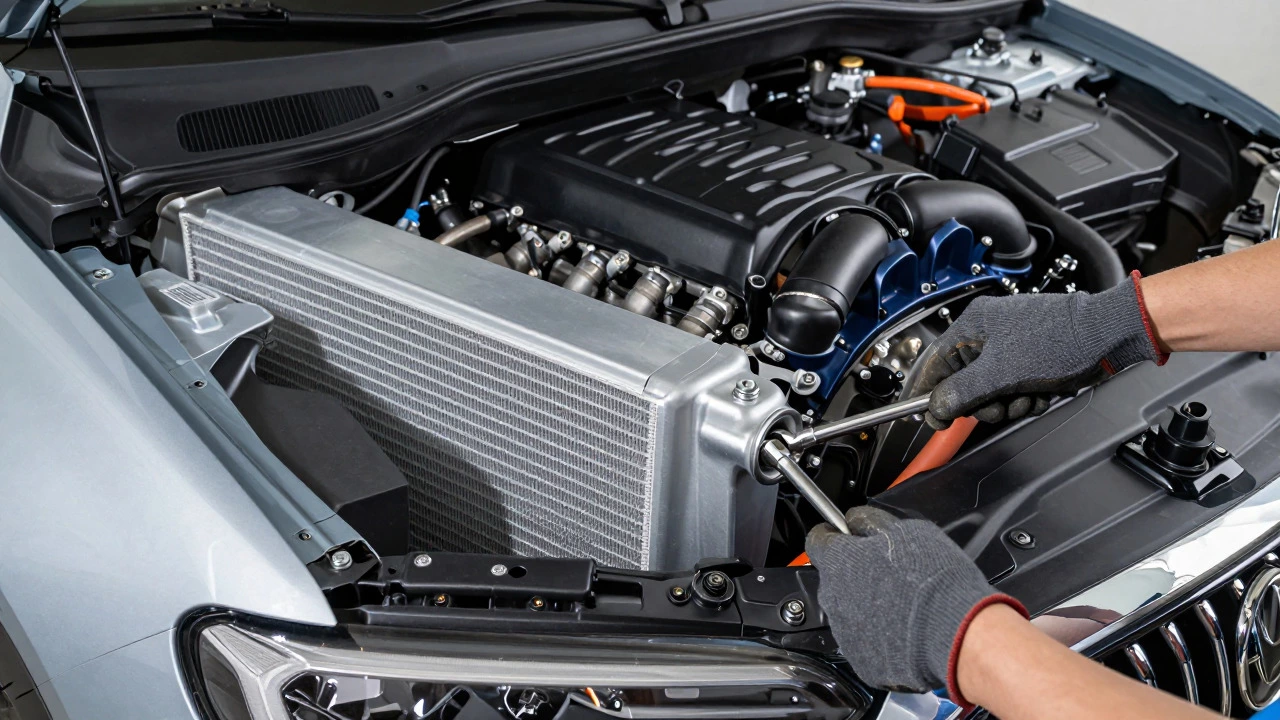
Now comes the physical work. Disconnect the upper and lower radiator hoses. Squeeze the clamps and slide them off. Be careful not to kink the hoses if you plan to reuse them, though it is often recommended to replace old hoses during a radiator swap. Next, disconnect any electrical connectors attached to the radiator assembly, such as fan motors or sensors. Finally, unbolt the radiator from its mounts. This is where access issues arise. If you have to remove the bumper, add 1-2 hours to your timeline.
Step 3: Removal and Installation
Lift the old radiator out. Compare it with the new one to ensure the bolt holes align perfectly. Install the new radiator first, then reconnect the hoses and electricals. Tighten the mounting bolts securely but do not over-torque, as this can crack the plastic housing.
Step 4: Refilling and Bleeding
This is the critical step for long-term success. Fill the system with a mixture of coolant and distilled water (usually 50/50) until the reservoir is half-full. Start the engine and let it idle. As the thermostat opens, the coolant will circulate and bubbles will rise. Keep topping up the reservoir until the level stabilizes. Turn the heater on full blast inside the car to force coolant through the heater core. This helps bleed air from the system. Top up again after the engine cools down. You may need to repeat this process twice to ensure no air remains.
When to Call a Professional
Despite the feasibility of DIY, there are scenarios where paying a mechanic is the smarter choice. If your car has a complex front-end layout where the radiator is inaccessible without removing the engine cover, intake manifold, or bumper, the labor cost for a professional might be justified by their speed and experience. Also, if you have never worked on a cooling system before, the risk of air locks or improper torque settings is higher.
Another reason to seek help is if the radiator is leaking due to a cracked core rather than external damage. Sometimes, a small leak can be repaired with a sealant, saving the cost of a new unit. A mechanic can pressure-test the system to confirm the source of the leak before you commit to a full replacement.
| Vehicle Type | Access Level | Estimated Time (DIY) | Key Challenge |
|---|---|---|---|
| Older Hatchbacks (Pre-2005) | High | 1.5 - 2 hours | Corroded bolts |
| Modern Sedans | Moderate | 3 - 5 hours | Bumper removal, electrical sensors |
| SUVs / Crossovers | Moderate-High | 2 - 4 hours | Weight of radiator, height |
| Performance Cars | Low | 5 - 8+ hours | Tight packaging, intercoolers, complex cooling loops |
Common Mistakes to Avoid
Even experienced DIYers make mistakes that turn a simple job into a costly error. The most common pitfall is using the wrong type of coolant. Some cars require green ethylene glycol, while others need pink or orange organic acid technology (OAT) coolants. Mixing incompatible types can create gel-like sludge that clogs the radiator and heater core. Always check your owner's manual.
Another frequent error is forgetting to replace the radiator cap. The cap maintains system pressure, which raises the boiling point of the coolant. An old, weak cap can fail to hold pressure, causing the engine to boil over even with a brand-new radiator. It is a cheap part, so replace it every time you touch the cooling system.
Finally, ignore the condition of the hoses. If the rubber hoses are cracked or swollen, they are likely to fail soon after you install the new radiator. Since you already have the system drained, it is much easier to replace the hoses now than to do it separately later.
Frequently Asked Questions
How much does it cost to replace a car radiator?
The cost varies widely. A standard aftermarket radiator can cost between £80 and £200. Labor at a garage typically ranges from £150 to £400 depending on the car's complexity. If you do it yourself, you only pay for parts and fluids, keeping total costs under £300 for most vehicles.
Can I drive my car with a broken radiator?
It is risky. A broken radiator usually leads to coolant loss and overheating. Driving an overheated engine can cause severe damage like a warped cylinder head or blown head gasket. If the leak is minor and you have plenty of coolant, you can drive slowly to a safe location, but avoid highway speeds.
Do I need to replace the radiator cap when changing the radiator?
Yes, it is highly recommended. The cap seals the system to maintain pressure. An old cap may not seal correctly, leading to pressure loss and potential overheating. It is a low-cost part that ensures the longevity of your new radiator installation.
What happens if I mix different types of coolant?
Mixing incompatible coolants can cause chemical reactions that lead to sludge formation. This sludge can clog the radiator fins and heater core, reducing cooling efficiency. In extreme cases, it can corrode internal components. Always flush the system thoroughly if you must switch coolant types.
How long does a new radiator last?
A quality radiator typically lasts between 80,000 and 100,000 miles, or roughly 10 years. However, this depends on driving conditions, regular maintenance, and the quality of the coolant used. Neglecting coolant changes can shorten this lifespan significantly.