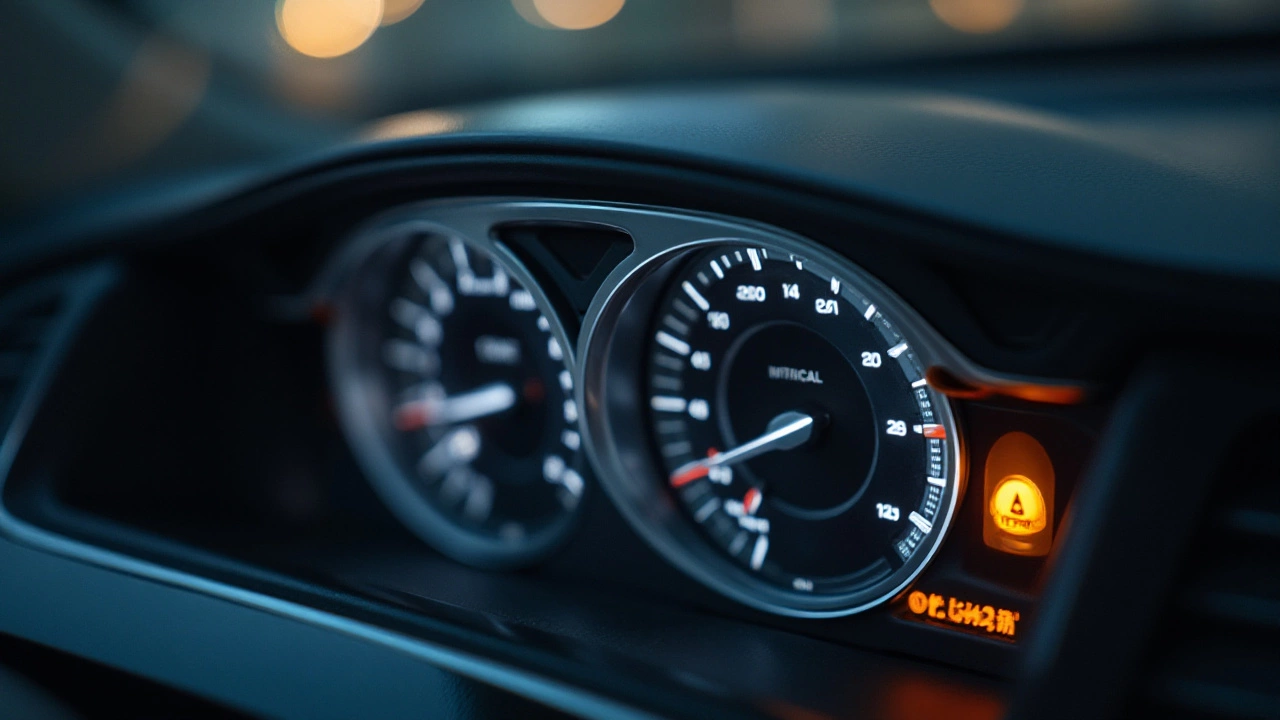
If you own any car, brake pads are the part you notice the most when they start to fail – that squeal, a longer stopping distance, or a greasy feel on the pedal. They’re cheap enough that most drivers ignore them until something goes wrong, but a good set of pads keeps you safe and can save you money on bigger repairs.
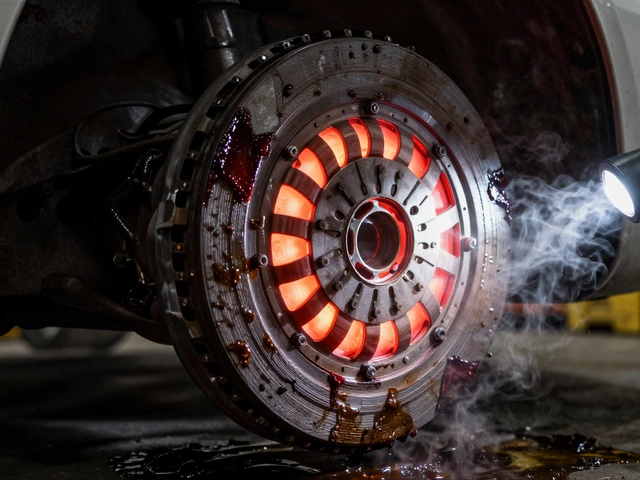
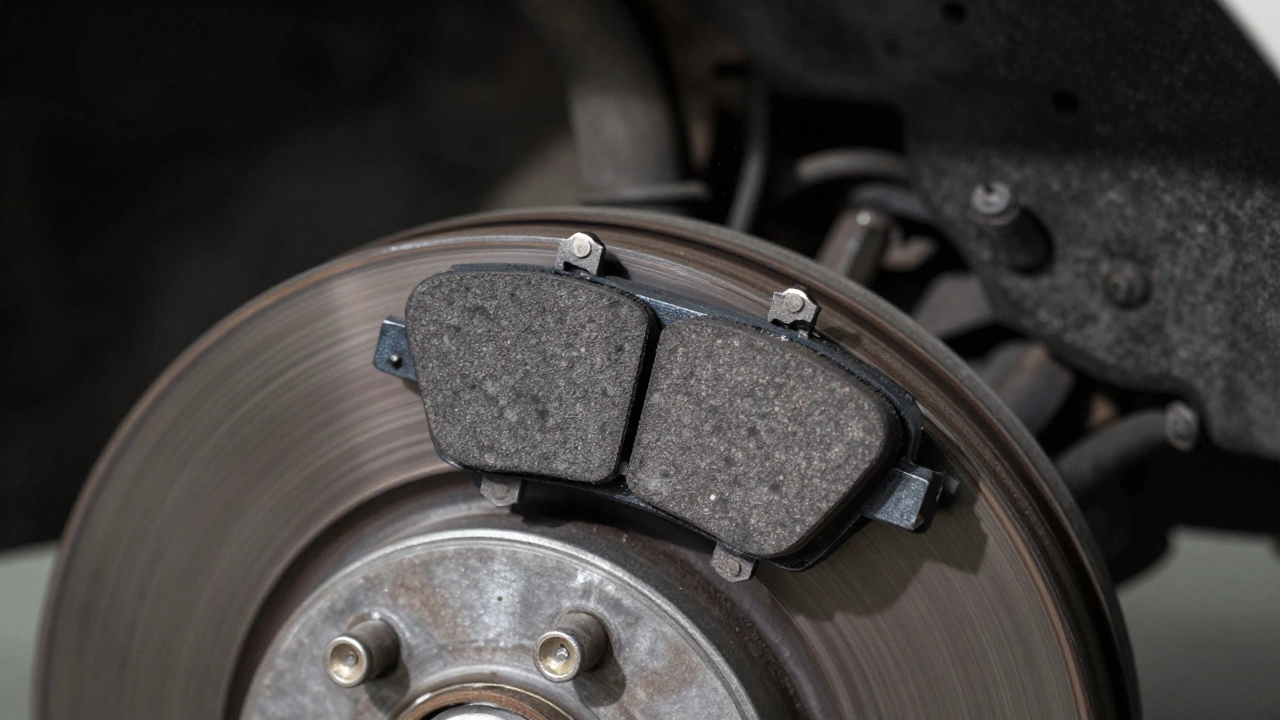
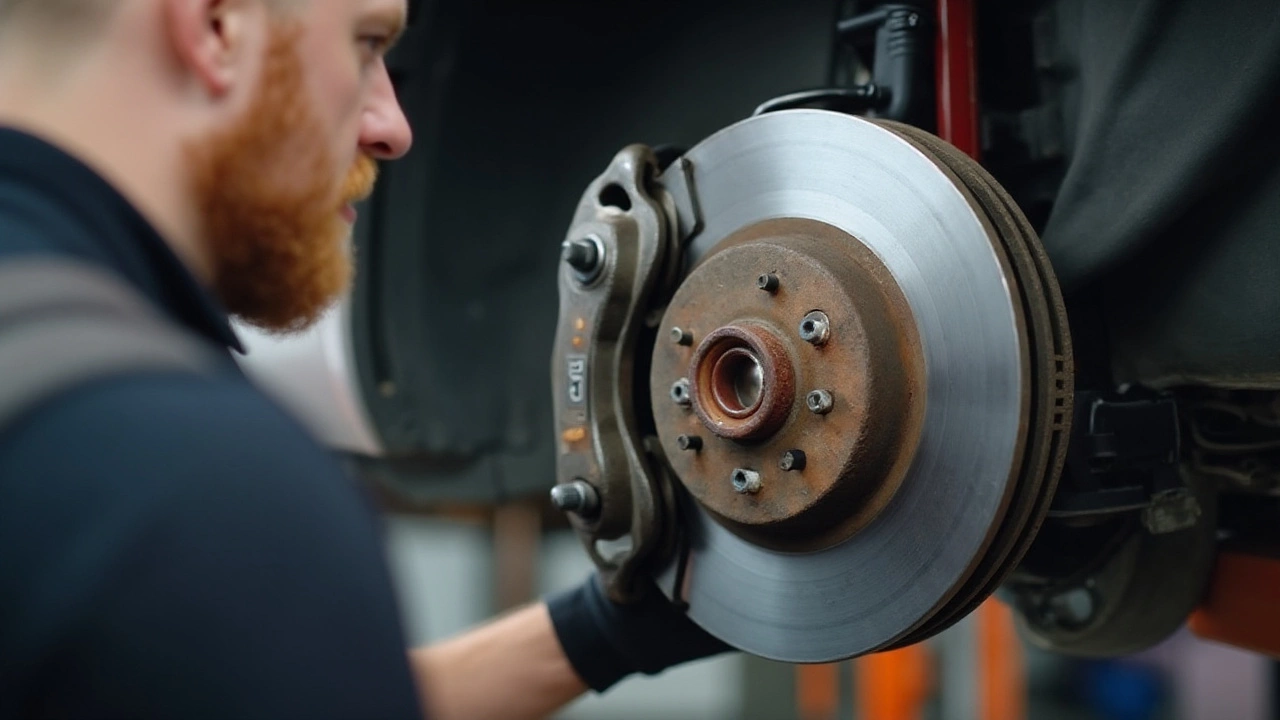
Brake pads sit on the back of the brake rotor. When you press the brake pedal, hydraulic pressure pushes the caliper pistons, squeezing the pads against the spinning rotor. The friction slows the wheel down. Because friction creates heat, the pads slowly grind away. Different materials – organic, semi‑metallic, ceramic – wear at different rates, but all pads need replacement eventually.
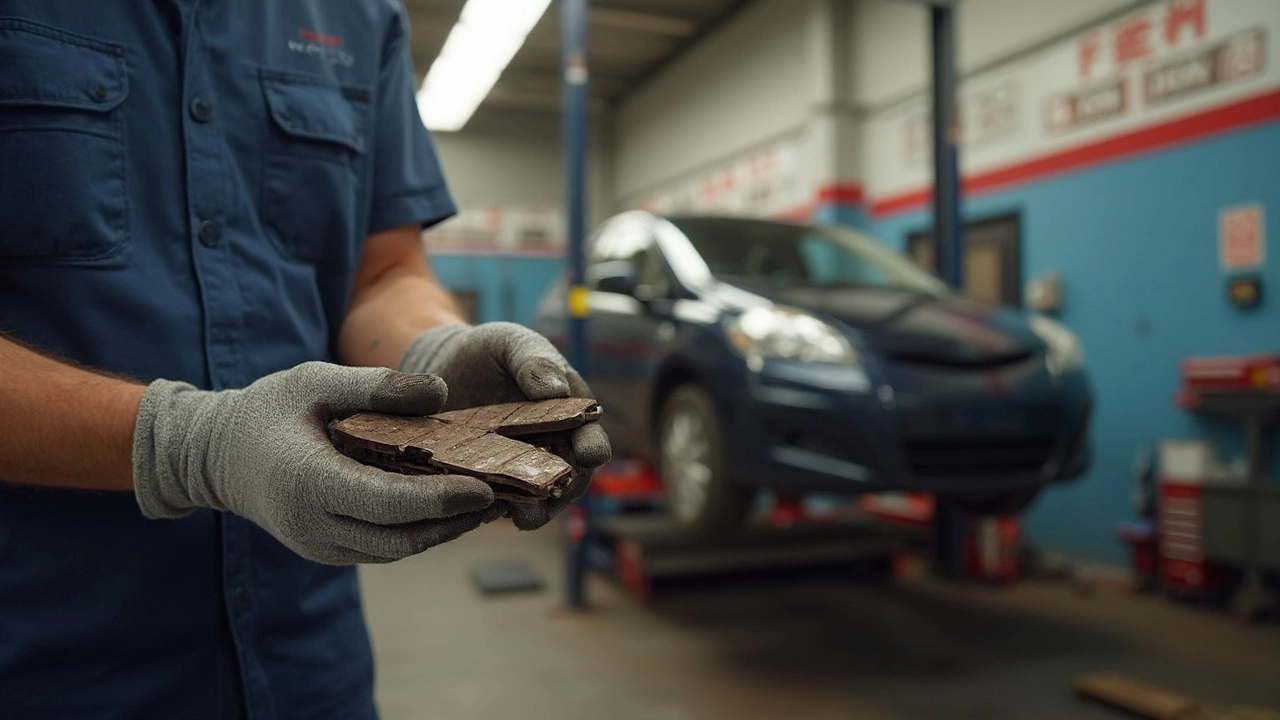
Typical wear ranges from 25,000 to 70,000 miles, depending on driving style, road conditions, and pad type. If you drive in the city, brake hard every day, or haul heavy loads, expect the low end of that range. A quick visual check can tell you a lot: look through the wheel spokes or remove the wheel to see the pad thickness. If it’s under 3 mm, it’s time to replace.
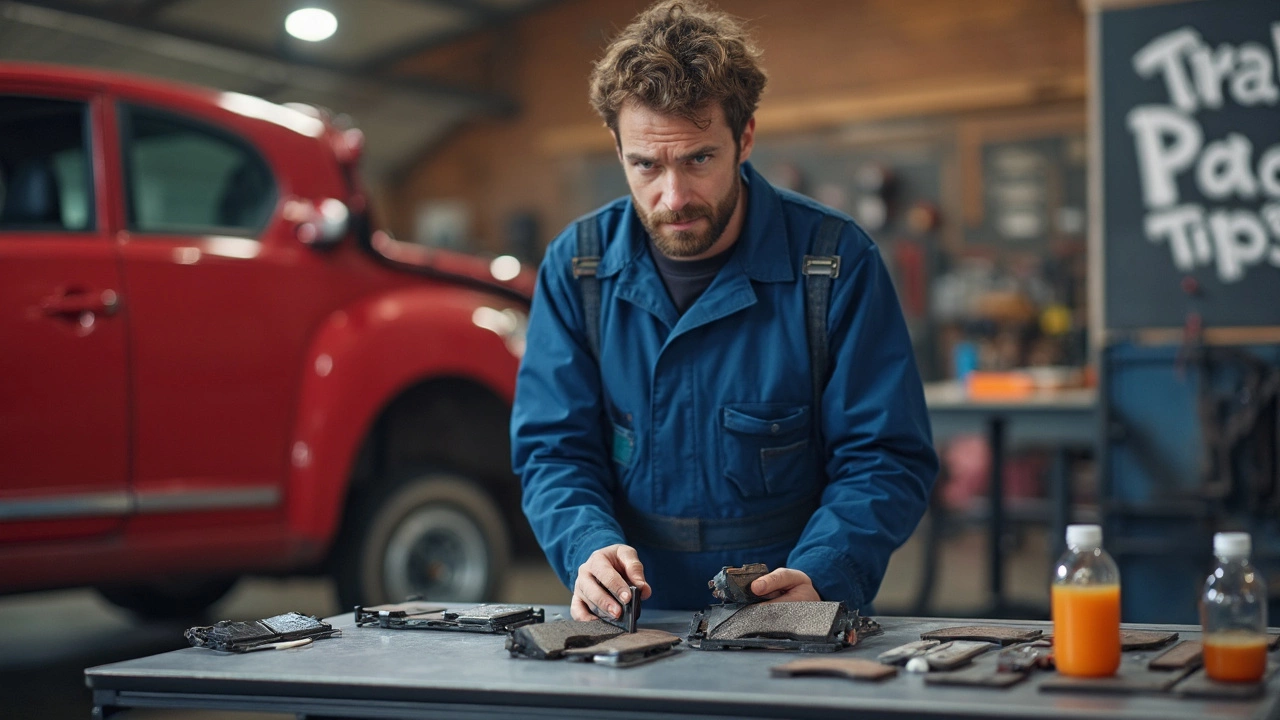
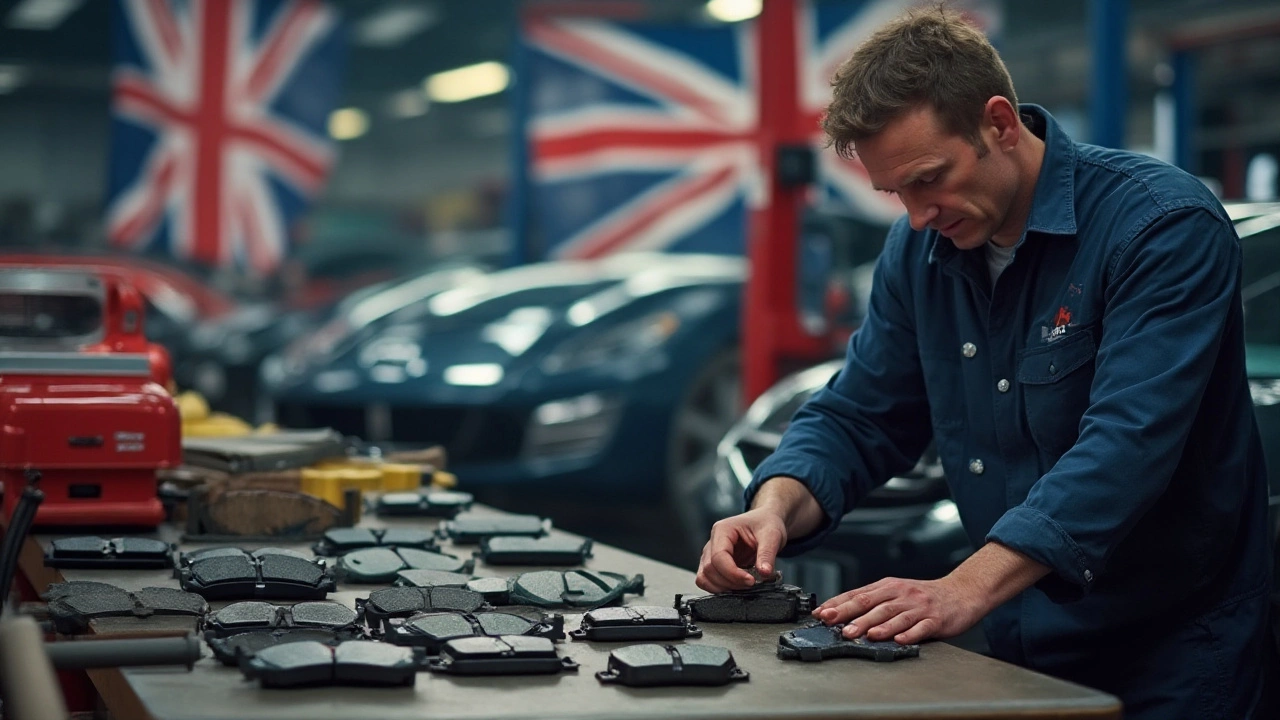
When you shop for pads, start with your car’s make and model. OEM (original equipment manufacturer) pads match the factory specs, but they’re often pricier. Aftermarket options give you more choices:
Ask yourself three questions before you buy:
Read the product description for fitment codes – the same pad can fit many models if the bolt pattern matches. When in doubt, type your car’s year, make, and model into the site’s search field and let the filter do the work.
Don’t forget the hardware. Many pad kits include new shims, clips, and sometimes a brake wear sensor. Replacing these cheap parts at the same time helps the new pads seat properly and prevents premature squeal.
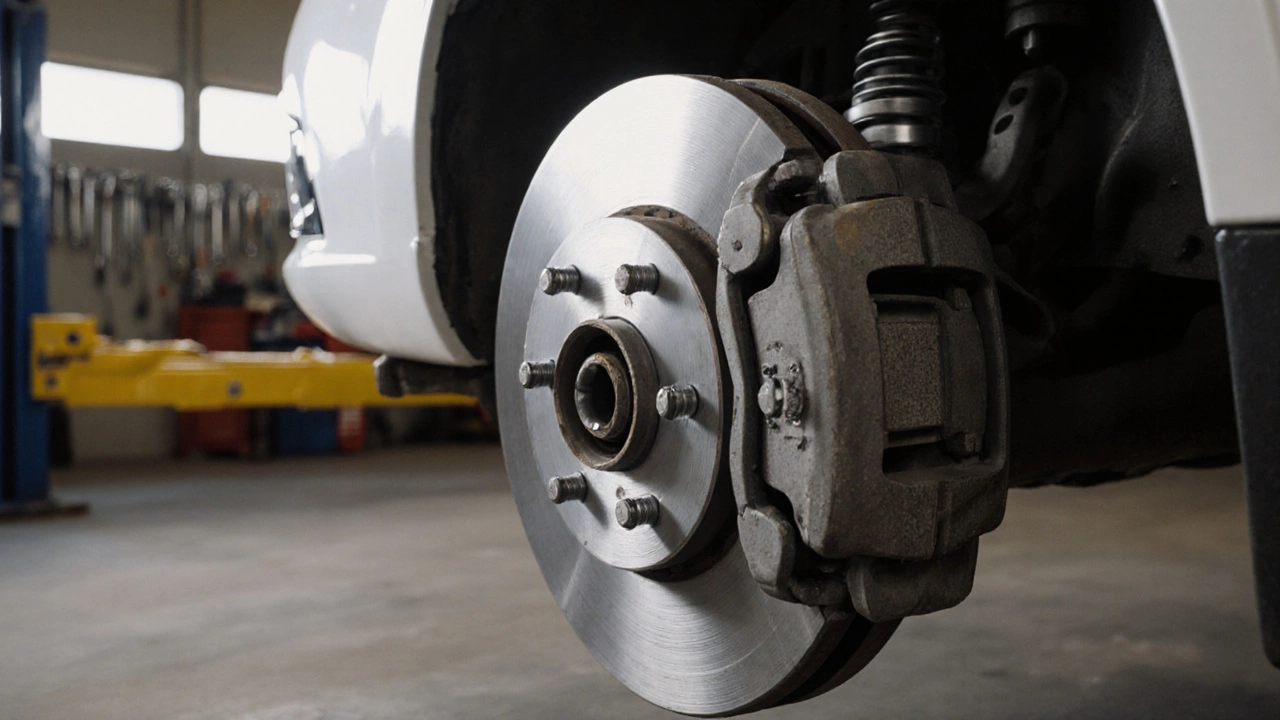
Replacing brake pads is one of the few DIY jobs most car owners can tackle with basic tools. You’ll need a jack, jack stands, a lug wrench, a C‑clamp or a piston‑retracting tool, and a torque wrench for the wheel nuts.
Steps in a nutshell:
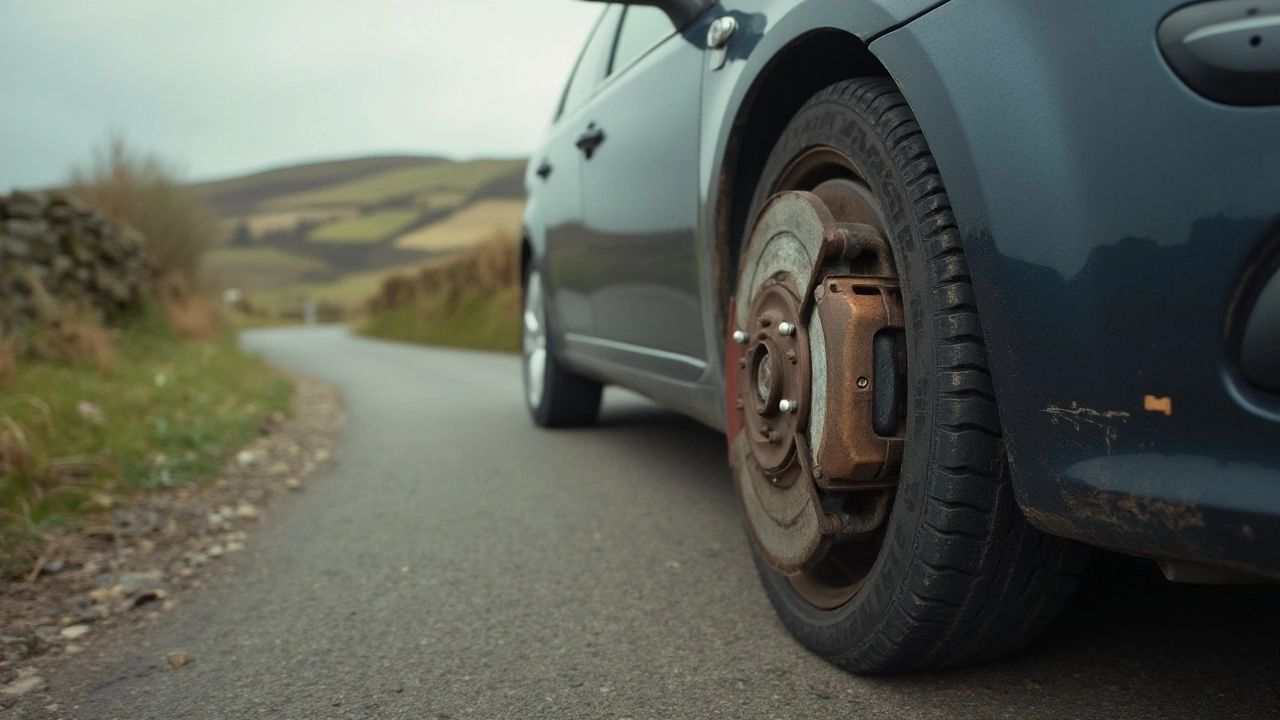
After the first few miles, do a gentle brake test at low speed to make sure everything feels right. If you hear persistent squeal, double‑check the pad orientation or consider a different pad material.
Remember, brake pads are a safety part. If you’re unsure about any step, it’s worth a short trip to a local garage – the cost of a professional install is far less than a crash caused by faulty brakes.
Keeping an eye on pad wear, choosing the right material for your driving style, and swapping them out before they get too thin will keep your car stopping fast and your wallet happy.