Exhaust Installation Time Estimator
Your Setup
Estimated Timeline
0 HoursSelect your options to see the breakdown.
So, you’ve got the new parts in the box. The shiny stainless steel tips are gleaming under your garage lights. You’re ready to swap out that old, rusted-out exhaust for something that sounds better and looks sharper. But before you grab the wrenches, you’re probably asking yourself: just how long is this going to take?
The short answer? If you’re doing it yourself on a standard hatchback or sedan, expect to spend between 3 to 6 hours. If you’re taking it to a professional shop, they’ll likely have it done in about 1 to 2 hours, the typical timeframe for a professional mechanic to replace a full exhaust system on a common vehicle model. However, "full exhaust" is a broad term. Are we talking about just the rear muffler and tailpipe, or the entire assembly from the engine’s manifold to the bumper?
Let’s break down exactly what influences that timeline, because if you underestimate the work, you might find yourself working late into the night with grease under your fingernails.
What Exactly Is a "Full" Exhaust System?
To understand the time commitment, you first need to define the scope. In the automotive world, "full system" can mean two very different things depending on who you ask.
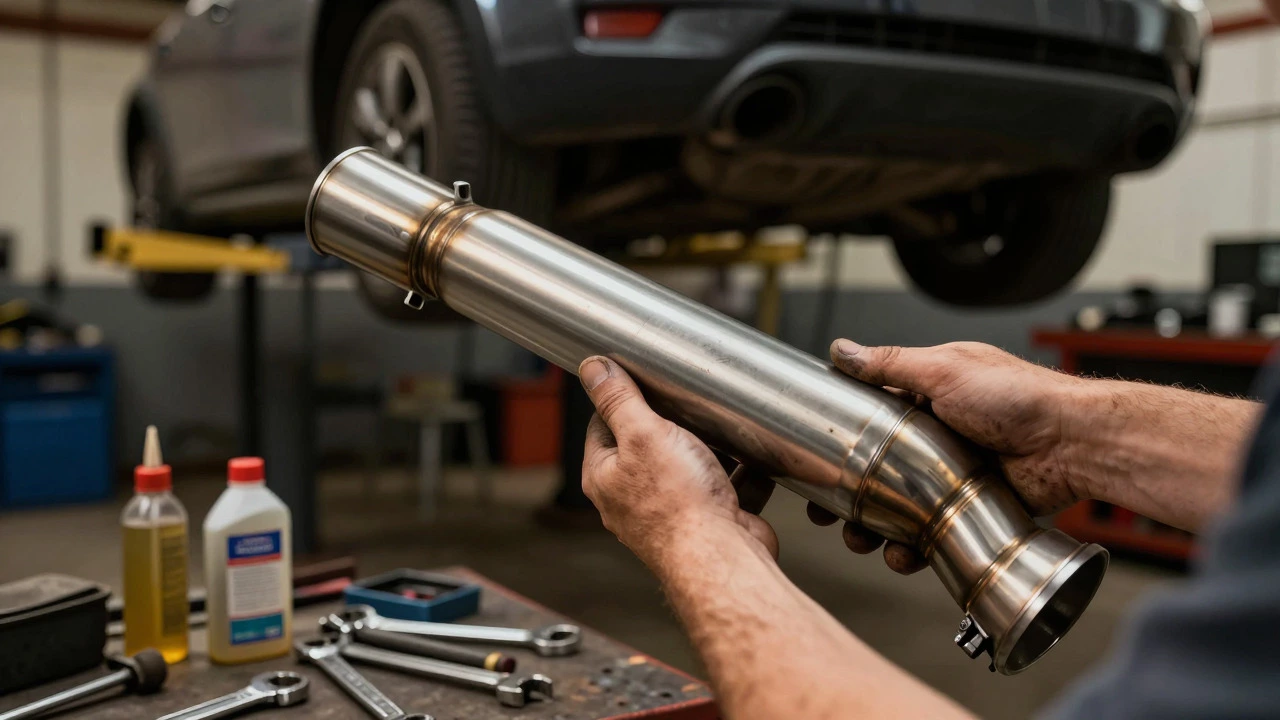
Scenario A is the Aftermarket Performance System, a complete replacement exhaust kit designed to improve sound and flow, often including headers, mid-pipes, and mufflers.. This includes the catalytic converters, resonators, mufflers, and all connecting pipes. This is the big job. It requires dropping the car, removing heat shields, and dealing with bolts that haven’t seen daylight since 2015.
Scenario B is a Rear Section Replacement, replacing only the muffler and tailpipe section of the exhaust, which is a more limited repair.. This is where many people get confused. They think they need a "full system" when they really just need the back half. This takes significantly less time-usually under two hours for a pro, maybe three for a skilled DIYer.
For this guide, we’re assuming you mean Scenario A: the whole works. Why? Because if you’re buying a full system, you’re likely chasing performance gains or fixing severe corrosion that affects multiple sections.
DIY vs. Professional Installation: The Time Gap
Here is where the reality hits hard. Mechanics have lifts, impact wrenches, and years of muscle memory. You have a floor jack, some stands, and a YouTube tutorial.
| Factor | Professional Mechanic | Skilled DIYer | Beginner DIYer |
|---|---|---|---|
| Average Time | 1 - 2 hours | 4 - 6 hours | 6 - 10+ hours |
| Equipment Needed | Hydraulic lift, air tools | Jacks, stands, hand tools | Basic tool set, patience |
| Risk of Errors | Low | Moderate | High |
| Cost Factor | d>Labor charges apply | Parts only | Parts + potential rework |
If you’re a beginner, don’t be fooled by those videos where the guy swaps an exhaust in 20 minutes. That’s usually a pre-rusted bolt that snaps off instantly, or he’s not showing you the part where he spent 45 minutes cleaning threads. For your first full system install, plan for a full weekend day. Start early, bring lunch, and accept that you will get dirty.
The Hidden Time-Eaters: What Slows You Down?
You’d think the hardest part is lifting the car. It’s not. The hardest part is fighting with seized components. Here are the three biggest factors that will extend your timeline:
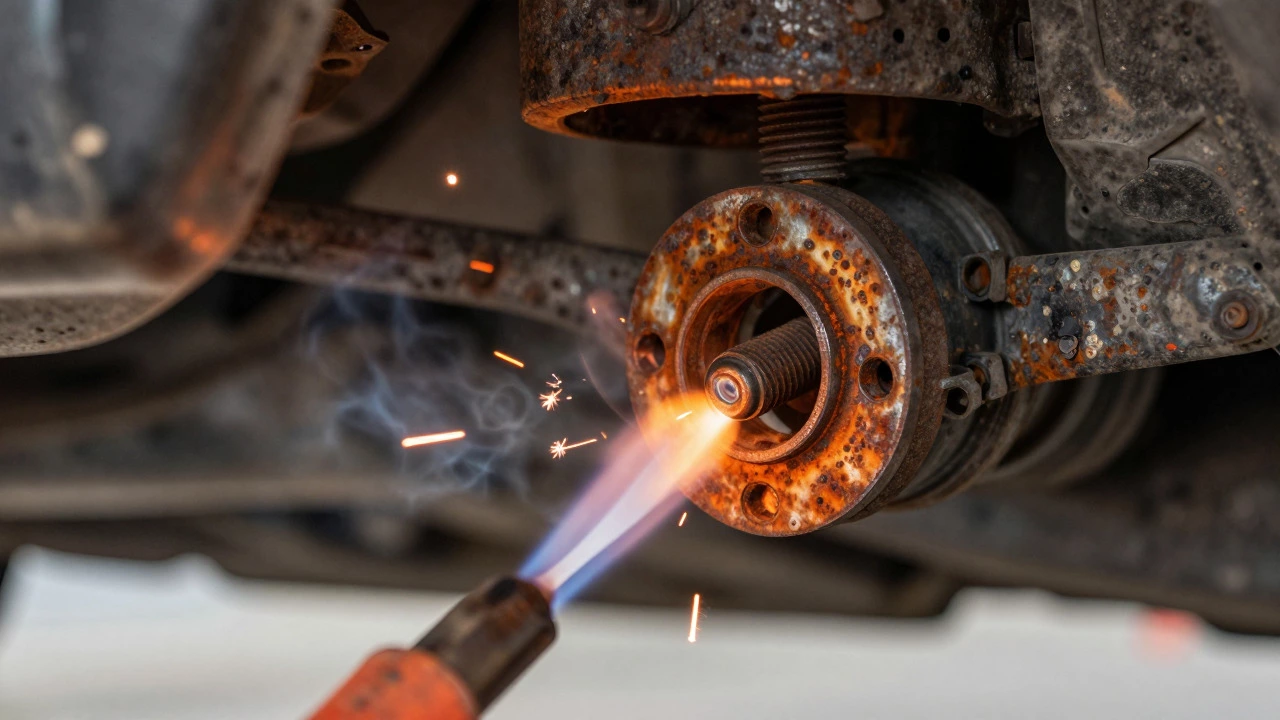
- Rust and Corrosion: This is the enemy. If your current exhaust has been on the car for five years or more, especially in areas like Bristol where rain is constant, those bolts are fused. You might spend an hour just trying to remove one flange nut. Penetrating oil helps, but heat from a propane torch is often necessary. Just be careful not to melt nearby plastic or wiring.
- Vehicle Design: Not all cars are created equal. A Ford Focus is relatively straightforward. You can access most bolts from underneath without removing too many other parts. Now, try doing that on a modern SUV with heavy underbody protection, or a luxury sedan with complex heat shielding. Some vehicles require you to remove the fuel tank or even the rear subframe to get the exhaust out. Check your service manual first.
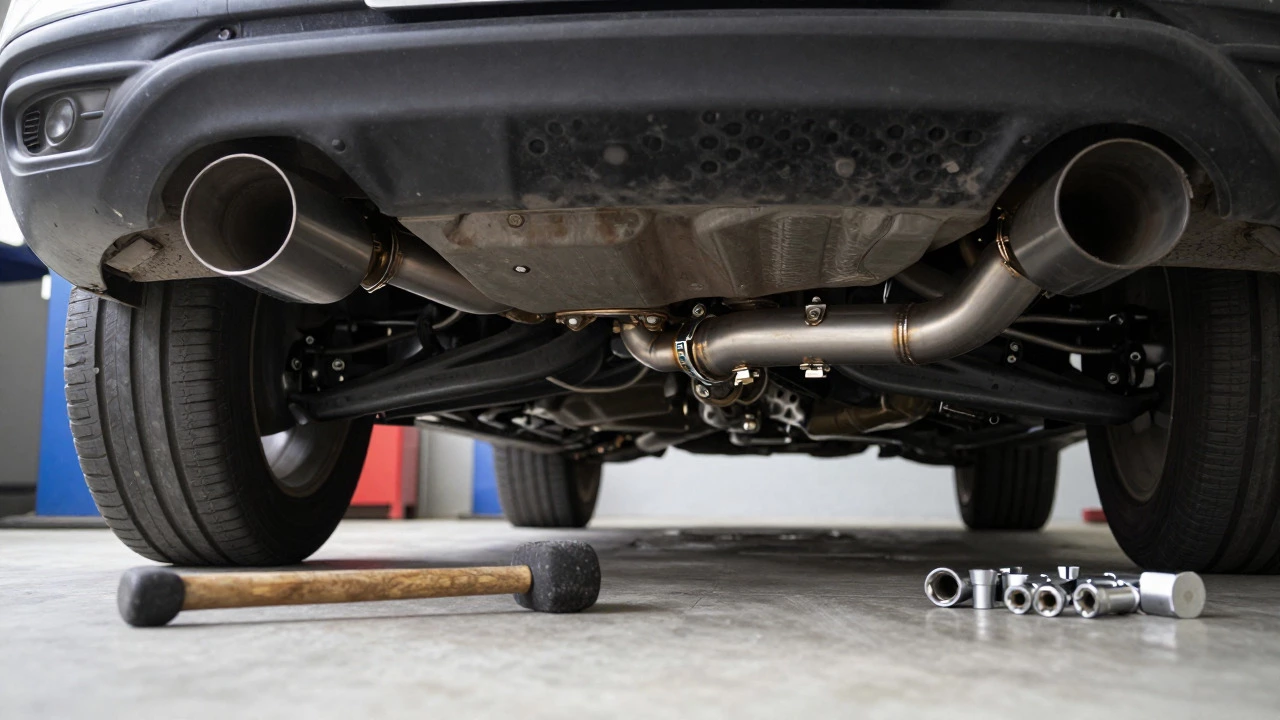
- Fitment Issues: Aftermarket systems are rarely perfect. They are manufactured to fit a range of models, so there’s always some variance. You might find that the new pipe doesn’t align perfectly with the hanger brackets. You’ll need to bend it slightly with a rubber mallet or adjust the clamps. This trial-and-error process can add an hour or more to the job.
Step-by-Step Breakdown of the Job
To help you visualize the workflow, here is a realistic breakdown of the tasks involved in installing a full exhaust system. Use this as a checklist to gauge your progress.
- Preparation (30 mins): Gather tools, spray penetrating oil on all exhaust bolts, and ensure your workspace is safe. Jack up the car and secure it on axle stands. Never trust a jack alone.
- Removing Heat Shields (45 mins - 1.5 hours): These thin metal covers protect your car’s underside from heat. They are held by small pop-rivets or screws that rust quickly. Removing them carefully without bending them is tedious but crucial if you want to reuse them.
- Disconnecting the Old System (1 - 2 hours): Unbolt the exhaust from the manifold (front) and the rear hangers. Support the weight of the old exhaust with a transmission jack or a block of wood before cutting or unbolting the final connections. This prevents damage to the engine mounts.
- Cleaning Flanges (30 mins): Once the old system is off, clean the mating surfaces on the engine and chassis. Remove old gasket material and rust. A wire brush and emery cloth work wonders here. A clean surface ensures a leak-free seal later.
- Fitting the New System (1 - 2 hours): Slide the new pipes into place. Align the flanges and insert the bolts. Do not tighten them fully yet. Let everything hang loosely until all connections are made. Then, start the engine briefly to let the metal expand and settle into its natural position. Turn it off, and then tighten all bolts and clamps while the system is warm (but not hot enough to burn you).
- Reassembly (30 mins): Reattach heat shields, check for leaks, and lower the car.
Tools You Actually Need
Don’t go digging through every drawer in your shed. Here is the essential toolkit for an exhaust install:
- Socket Set and Ratchet: Metric sizes are standard for most European and Asian cars. Imperial for American brands. Get a good quality set; cheap sockets strip easily.
- Penetrating Oil: Brands like WD-40 Specialist or PB Blaster are worth the extra penny. Apply it at least an hour before you start, or ideally the night before.
- Oxygen Sensor Socket: If your exhaust includes O2 sensors, you’ll need a special socket with a slot to slip over the sensor wire. Regular sockets won’t fit.
- Propane Torch: For heating stuck bolts. The expansion from heat breaks the rust bond. Use caution around fuel lines.
- Jack Stands: Non-negotiable safety equipment. Ensure they are rated for your vehicle’s weight.
- Rubber Mallet: For gently persuading pipes into alignment without denting them.
When to Call a Pro
There’s no shame in hiring a professional. In fact, it might save you money in the long run if you consider the cost of tools and your own time. Consider calling a mechanic if:
- Your vehicle is a high-performance or luxury model with complex underbody engineering.
- You lack the physical space to safely jack up the car.
- You’re uncomfortable working with heat sources or heavy metal components.
- The old bolts snap off during removal, requiring extraction tools you don’t own.
In the UK, labor rates vary, but expect to pay between £80 and £120 per hour for a specialist exhaust fitter. A full system installation might cost £200-£400 in labor alone, plus the price of the parts. Compare this to the cost of buying a comprehensive toolset, which could easily exceed £150 if you’re starting from scratch.
Safety First: Don’t Skip This
Exhaust work involves heavy components, sharp edges, and potentially toxic gases. Always wear safety glasses to protect against falling debris and rust flakes. Gloves are essential-not just for grip, but to prevent cuts from sharp metal edges. And never start the car with the exhaust partially removed or disconnected indoors. Carbon monoxide is odorless and deadly. Work in a well-ventilated area, preferably outdoors.
Also, be mindful of the heat. Even after you turn the engine off, the exhaust manifold remains hot for a long time. Wait at least 30 minutes after driving before touching any front-end components.
Final Thoughts on Timing
So, to recap: if you’re a seasoned DIYer with the right tools, budget four to six hours. If you’re new to this, give yourself a full day and expect some frustration along the way. If you value your time and sanity, book a professional appointment and expect them to finish in under two hours.
The satisfaction of hearing that deep, throaty note from your new exhaust is worth the effort. But preparation is key. Have your tools ready, your workspace clear, and your expectations realistic. Good luck, and keep those bolts tight.
Can I install a full exhaust system myself?
Yes, absolutely. It is a common DIY project for intermediate mechanics. You need basic hand tools, jack stands, and some patience. The main challenges are removing rusted bolts and ensuring proper alignment. If you are comfortable changing brake pads or oil, you can likely handle an exhaust install with careful planning.
How much does it cost to install a full exhaust system professionally?
In the UK, labor costs typically range from £200 to £400 for a full system installation, depending on the vehicle complexity and location. This is in addition to the cost of the exhaust system itself, which can vary from £300 for a budget brand to over £1,000 for premium performance brands like Akrapovič or Borla.
Do I need to replace the gaskets when installing a new exhaust?
It is highly recommended. Old gaskets are compressed and brittle. Reusing them often leads to exhaust leaks, which can cause rattling noises and reduce performance. Most new exhaust kits come with fresh gaskets. If yours doesn't, buy high-quality copper or multi-layer steel (MLS) gaskets.
Will a new exhaust system fail my MOT test?
Not necessarily, but it depends on the noise level and emissions. The MOT test checks for excessive noise compared to the manufacturer's reference vehicle. If your new exhaust is significantly louder than stock, it may fail. Also, ensure the catalytic converter is functioning correctly, as a damaged cat will cause an emissions failure. Choose a "road legal" or "MOT compliant" system if you plan to drive daily.
How do I know if my exhaust bolts are stripped?
If your socket spins freely without turning the bolt, the head is likely stripped. Try using a larger socket that grips the sides of the bolt head, or use locking pliers (vice grips) to clamp onto the bolt head and twist. As a last resort, you may need to drill out the bolt head and extract the shank using an easy-out tool.