Car Suspension Diagnostic Tool
Select the symptoms you are experiencing to get an instant preliminary diagnosis and recommended next steps.
Ever hit a pothole and felt your car bounce like a basketball? Or maybe the steering feels vague, drifting toward the center line when you want it straight. That’s not just bad luck with road conditions; that’s your suspension system crying for help. Most drivers ignore their suspension until something snaps or the ride becomes unbearable. But catching wear early saves money on tires, prevents catastrophic failure, and keeps you safe.
You don’t need a lift or expensive diagnostic tools to spot the basics. With a flashlight, some chalk, and ten minutes of attention, you can diagnose most common suspension issues yourself. Here is how to actually do it, step by step, without guessing.
The Bounce Test: Checking Shock Absorbers
This is the classic first step, but people often do it wrong. The goal here is to check your shock absorbers (or struts) for damping ability. If they are shot, your car won't settle quickly after a bump.
- Park on a flat, hard surface. Make sure the parking brake is on.
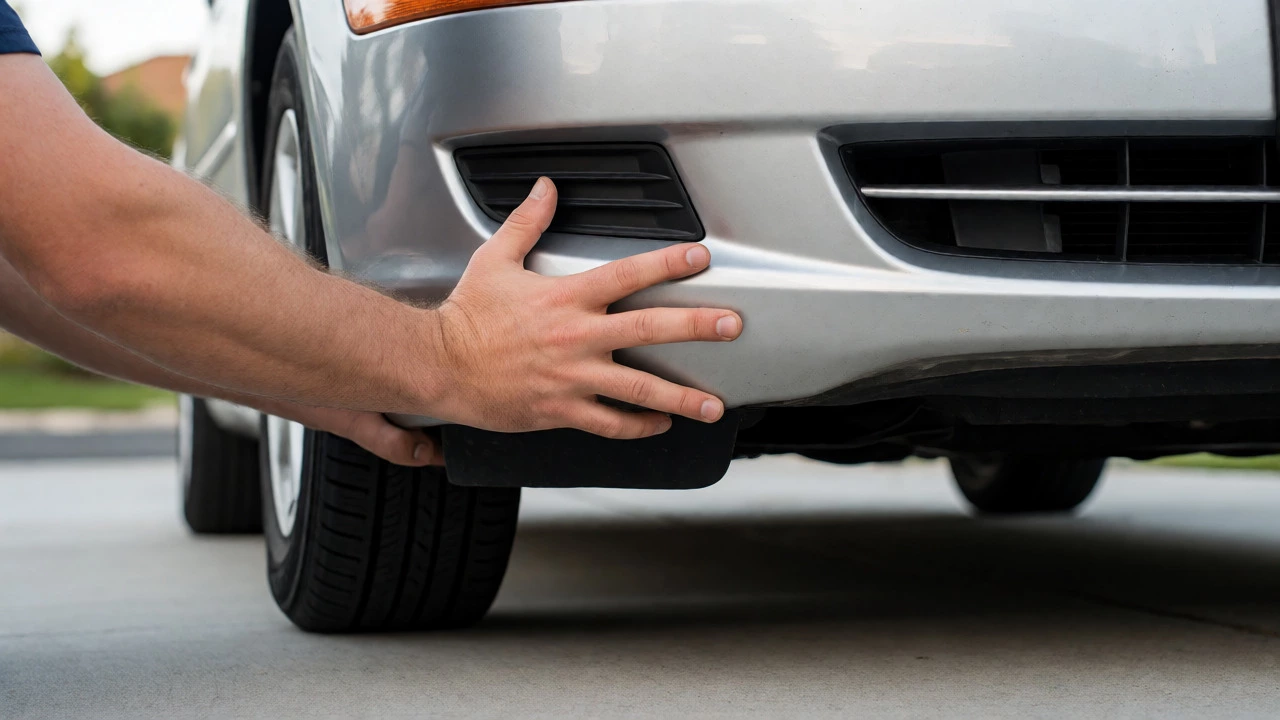
- Go to one corner of the car. Push down firmly on the bumper or fender above the wheel. Use your body weight, not just your arms.
- Release suddenly.
- Count the bounces.
A healthy suspension will rebound once and settle immediately. If the car bounces two or three times before stopping, your shocks are weak. If it oscillates wildly, they are gone. Repeat this at all four corners. Remember, front struts handle more load than rear shocks in many FWD cars, so pay extra attention there. This test works best when the tires are properly inflated, as soft tires can mimic bad shocks.
The Visual Inspection: Looking for Leaks and Damage
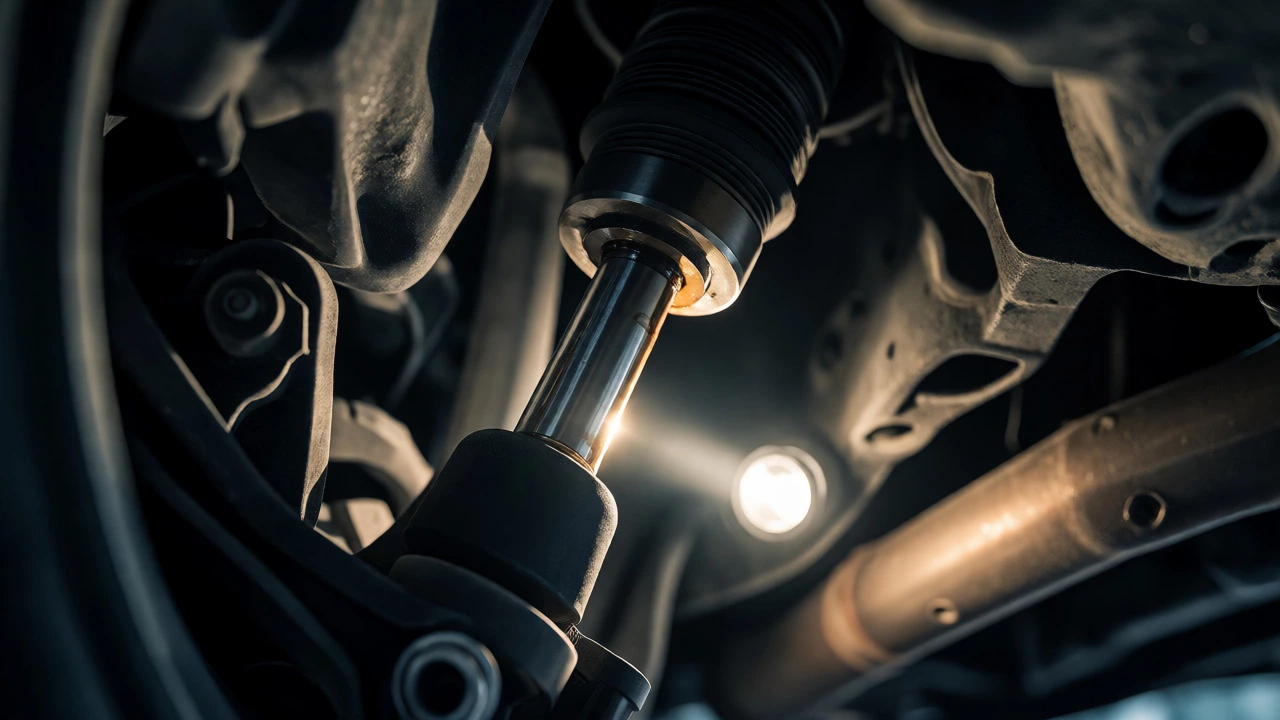
Shocks and struts are hydraulic devices. When they fail, they usually leak oil. Get low-literally. Lie on the ground if you have to, or use a creeper if you own one. Shine a bright flashlight at the shock absorber shaft (the shiny metal rod).
- Dry dust vs. wet grime: A little dust on the shaft is normal. It’s called "wetting" and helps lubricate the seal. But if you see thick, black, oily sludge dripping down the body, the internal seals have failed.
- Bent rods: Look for any kinks or bends in the piston rod. Even a slight bend from hitting a curb can cause uneven wear and noise.
- Corrosion: Rust on the mounting points can weaken structural integrity, especially in salt-belt states.
While you’re under there, look at the rubber boots covering the strut shaft. If they are torn, dirt gets into the seal, accelerating failure. Replace them cheaply now rather than replacing the whole strut assembly later.
Checking Bushings and Ball Joints
Suspension isn’t just about shocks. It’s about connecting parts. Bushings are rubber components that isolate vibration and allow movement between metal parts. They dry out, crack, and tear over time.
Grab a long screwdriver or a pry bar. Gently pry around control arm bushings. There should be very little play. If the rubber separates from the metal sleeve, or if you see deep cracks running across the surface, they are done. Worn bushings cause clunking noises when turning or braking and lead to poor alignment.
Next, check the ball joints. These are critical safety components that connect the control arm to the steering knuckle. Failure here means the wheel can detach while driving.
| Component | Primary Symptom | DIY Check Method |
|---|---|---|
| Shock Absorbers | Excessive bouncing, nose dive | Bounce test, visual leak check |
| Ball Joints | Clunking over bumps, wandering steering | Tire shake test, pry bar check |
| Control Arm Bushings | Creaking, pulling during braking | Visual cracking, pry bar movement |
| Tie Rod Ends | Steering slop, squeaking turns | Handshake test on wheel |
To check ball joints, jack up the car safely on stands. Grab the tire at the top and bottom (12 o'clock and 6 o'clock positions). Try to rock it vertically. Any noticeable clicking or movement indicates a worn lower ball joint. Do the same for tie rods by grabbing the tire at 3 and 9 o'clock. Horizontal play points to loose tie rod ends.
Listen to Your Car: Noise Diagnosis
Your ears are free diagnostic tools. Different sounds point to different failures.
- Knocking or clunking over bumps: Usually worn sway bar links or control arm bushings. Sway bar links are cheap and easy to replace.
- Squeaking when turning: Often dry ball joints or worn strut mounts. Strut mounts sit between the spring and the chassis; if the rubber deteriorates, you hear creaking through the dashboard.
- Growling that changes with speed: Could be wheel bearings, which are part of the hub/suspension interface. If the growl gets louder when you turn slightly left or right, it confirms a bearing issue.
Drive slowly over a rough patch of pavement with the windows down. Note exactly where the sound comes from. Is it front-left? Rear-right? Pinpointing the location saves hours of guessing.

The Road Test: How Does It Feel?
Static checks are great, but dynamic testing reveals handling flaws. Find an empty parking lot or a quiet back road.
Accelerate moderately and then brake firmly. Does the front end dip excessively (nose dive)? That’s weak front struts. Accelerate again. Does the rear squat? Weak rear shocks. Now, make a sharp turn. Does the car lean heavily to one side? That suggests worn springs or anti-roll bars.
Try driving over a series of small bumps (like a rumble strip). A good suspension absorbs these smoothly. A bad one transmits every vibration directly to your seat and steering wheel. If your hands go numb or your teeth chatter, the damping is ineffective.
When to Stop DIY and See a Pro
You can inspect and identify problems yourself, but repairs vary in difficulty. Replacing sway bar links or shocks is often manageable for intermediate DIYers. However, dealing with coil springs requires special compressors and carries high risk. If you suspect broken springs, damaged subframes, or complex multi-link setups (common in luxury cars), take it to a shop.
Also, if you find worn ball joints or tie rods, get an alignment afterward. You cannot align a car with loose suspension parts. The alignment machine needs solid geometry to measure correctly.
Can I drive with bad suspension?
You can drive short distances with worn shocks or bushings, but avoid highway speeds. Bad suspension increases stopping distance and reduces tire contact with the road, making hydroplaning more likely. If a ball joint is severely worn, stop driving immediately as the wheel could collapse.
How much does it cost to fix suspension?
Costs vary widely. Sway bar links might cost $50-$150 per pair including labor. Shocks or struts range from $150 to $400 per corner depending on whether you use OEM or aftermarket parts. Full suspension refreshes (springs, struts, bushings) can run $800-$1,500+ per axle.
Do I need to replace all four shocks at once?
Yes, always replace shocks or struts in pairs (both fronts or both rears). Mixing new and old causes uneven damping, leading to unpredictable handling and premature wear on the new units.
What causes rapid suspension wear?
Potholes, aggressive driving, heavy loads, and age are the main culprits. Salted roads accelerate corrosion of bushings and metal components. Overloading your vehicle beyond its rated capacity also kills shocks faster.
Is it dangerous to ignore a clunking noise?
It depends on the source. A loose sway bar link is annoying but rarely dangerous. A worn ball joint or tie rod end is critical because it affects steering control and wheel retention. Always investigate clunks promptly.