If you hear squealing or feel a soft pedal, it’s probably time to look at your brakes. Ignoring the signs can damage rotors, raise repair bills, and put safety at risk. This guide shows you the key symptoms, the parts that usually need swapping, and simple steps you can take yourself.
First, listen. A high‑pitched squeal usually means the pads are close to the wear limit. A grinding noise indicates the metal backing is touching the rotor – that’s a red flag. Next, feel the pedal. If it sinks toward the floor or you need to push harder to stop, the pads or fluid might be low.
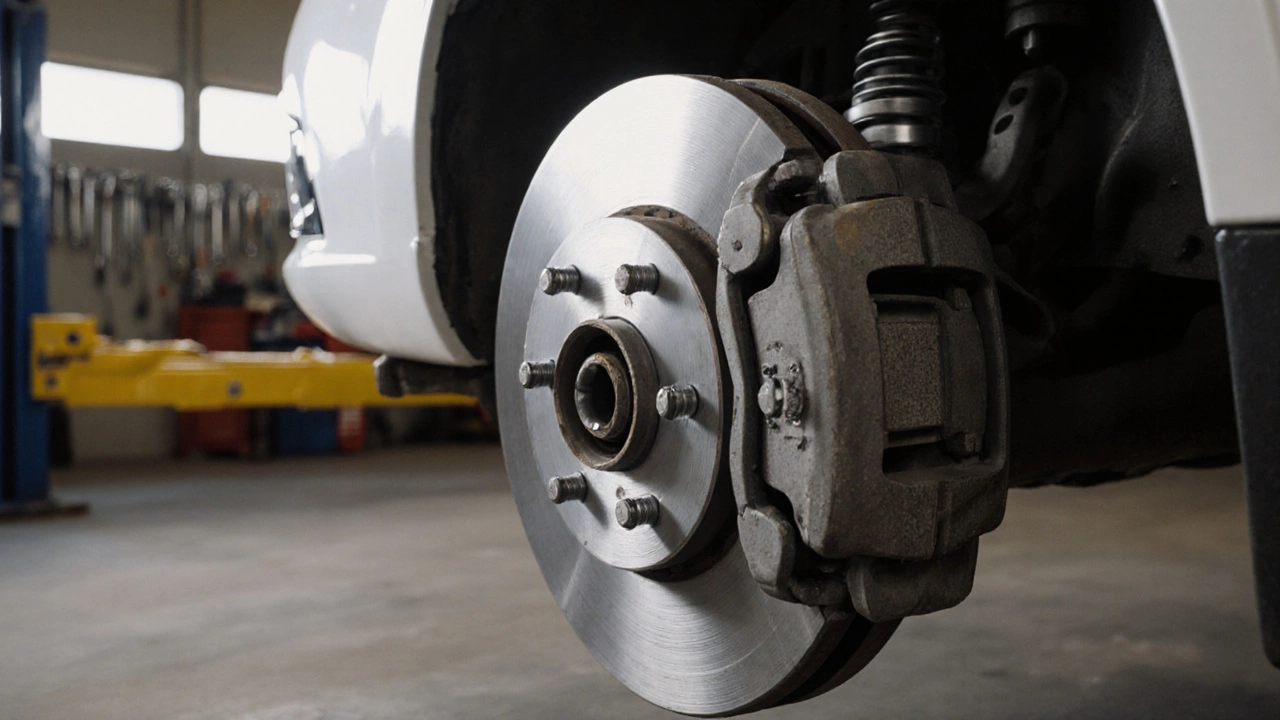
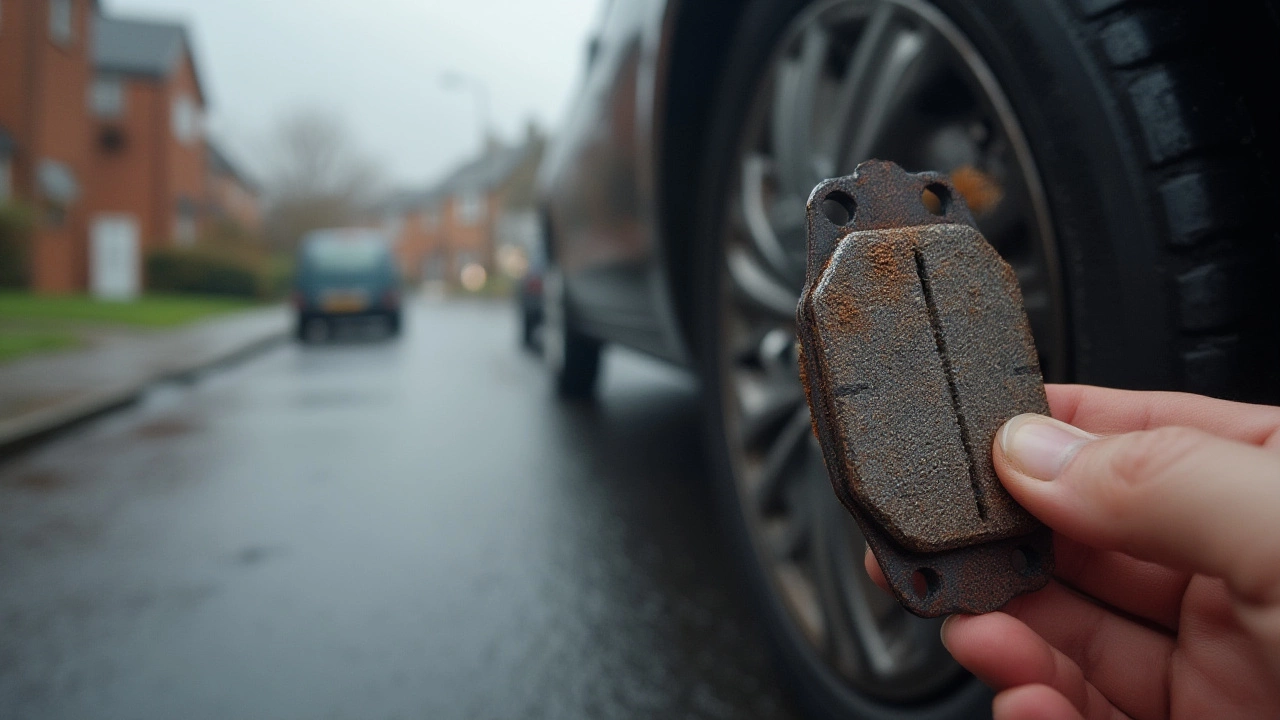
Finally, check the wear marks. Most pads have a wear indicator line; when it’s visible, replace the pads. Look at the rotor surface – deep grooves or a rough finish mean the rotors need resurfacing or a full swap.
Typical brake replacement includes pads, rotors, and sometimes the caliper hardware. In the UK, a standard set of front pads costs £30‑£70, while rotors run £50‑£120 each. Labor at a shop adds £80‑£150 per axle. If you do it yourself, you’ll save the labor cost but need basic tools – a jack, lug wrench, and a C‑clamp.
For high‑performance Italian cars, parts can be pricier, but the same principles apply. Always compare OEM (original equipment manufacturer) parts with reputable aftermarket options. The goal is a reliable stop, not just a cheap fix.
When you buy, check the part numbers that match your car’s make and model. Using the wrong size can cause uneven wear or vibration. Most online catalogs, including ours, let you filter by vehicle to avoid mistakes.
Ready for a DIY swap? Here’s a quick rundown:
Safety tip: always double‑check that the caliper bolts are tight before you drive off. A loose bolt can cause the caliper to wobble and damage the rotor.
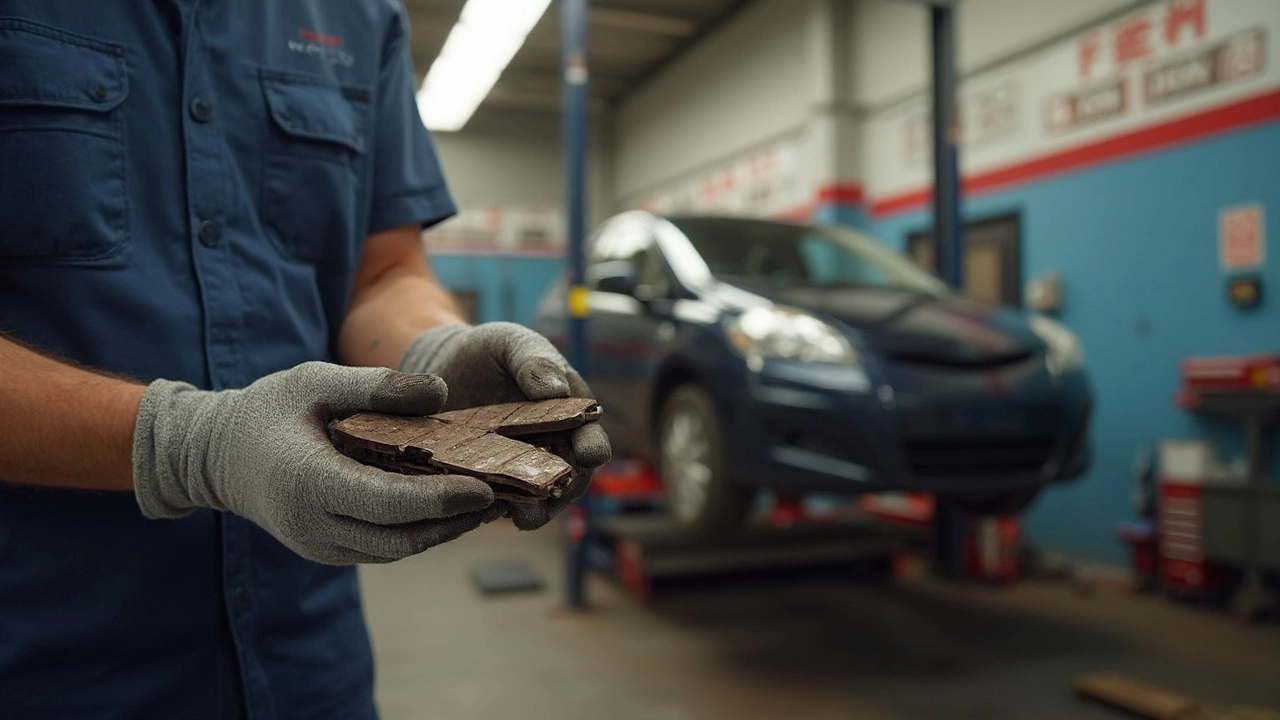
If any step feels uncertain, it’s smart to let a professional finish the job. A good shop will also bleed the brake system if air got in during the work.
Want more specific advice for your Italian ride? Browse our articles on brake pads worn, rotor lifespan, and front vs. rear brake wear. They dive deeper into the quirks of different models and give you exact part numbers.
Bottom line: listen, feel, and inspect regularly, replace worn parts before they wear out the rotors, and decide whether DIY or a shop fits your skill level and budget. Your brakes are the only thing that stops you – keep them in top shape and drive with confidence.