Radiator Replacement Cost & Difficulty Estimator
Vehicle & Repair Details
Your DIY Assessment
Mechanic Quote (Est.)
£0
DIY Parts Cost
£0
Essential Toolkit Checklist
Note: If you encounter seized bolts or plastic connectors, add £20–£50 to your budget for replacements.
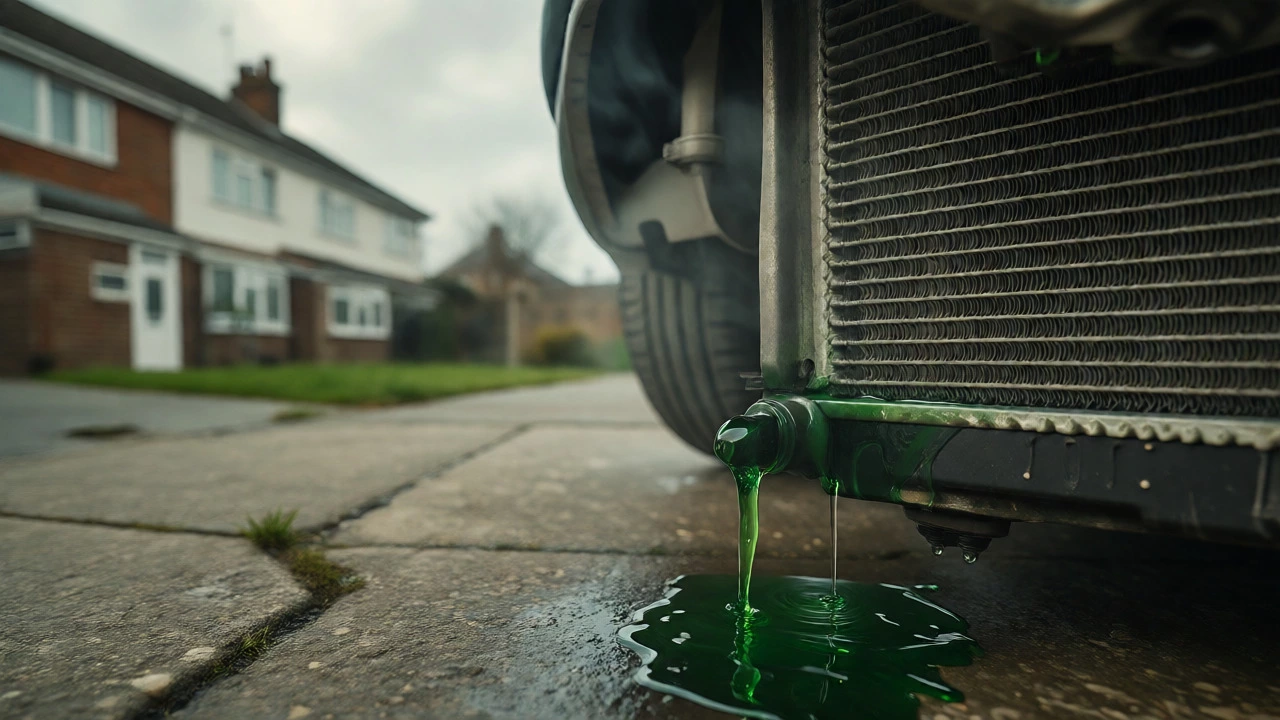
You’re standing in your driveway, looking at the steaming hood of your car. The mechanic quoted you £350 for a radiator replacement, but you know the part itself costs around £80 online. That price gap stings. It makes you wonder: is swapping this metal box actually that hard, or are they charging you for their suffering?
Here’s the blunt truth: changing a radiator isn’t rocket science, but it’s not exactly changing a wiper blade either. It sits right in the "intermediate" zone of DIY repairs. If you can handle a socket set and have patience for stubborn bolts, you can do it. But if you’ve never drained coolant before, you might find yourself fighting leaks and air pockets. Let’s break down exactly what you’re getting into so you don’t end up with a puddle on your garage floor.
The Real Difficulty Level: What You’re Actually Facing
Most people underestimate the physical awkwardness of the job. Modern cars are packed tight. On some vehicles, like older Fords or Vauxalls, the radiator is front-and-center, easy to reach. On others, especially transverse-engine layouts common in hatchbacks, you might need to remove the bumper cover, fans, and sometimes even the headlights just to get eyes on the mounting tabs. This isn’t about complexity; it’s about access.
The technical steps themselves are straightforward. Drain the old fluid, disconnect two hoses, unbolt four brackets, lift out the old unit, reverse the process. The catch is that everything is often seized by heat cycles and road grime. You’ll likely spend more time soaking bolts with penetrating oil than turning them. If you rush this, you’ll snap a plastic hose connector, which turns a £100 job into a £200 one because now you need new fittings too.
Tools and Parts You Need Before Starting
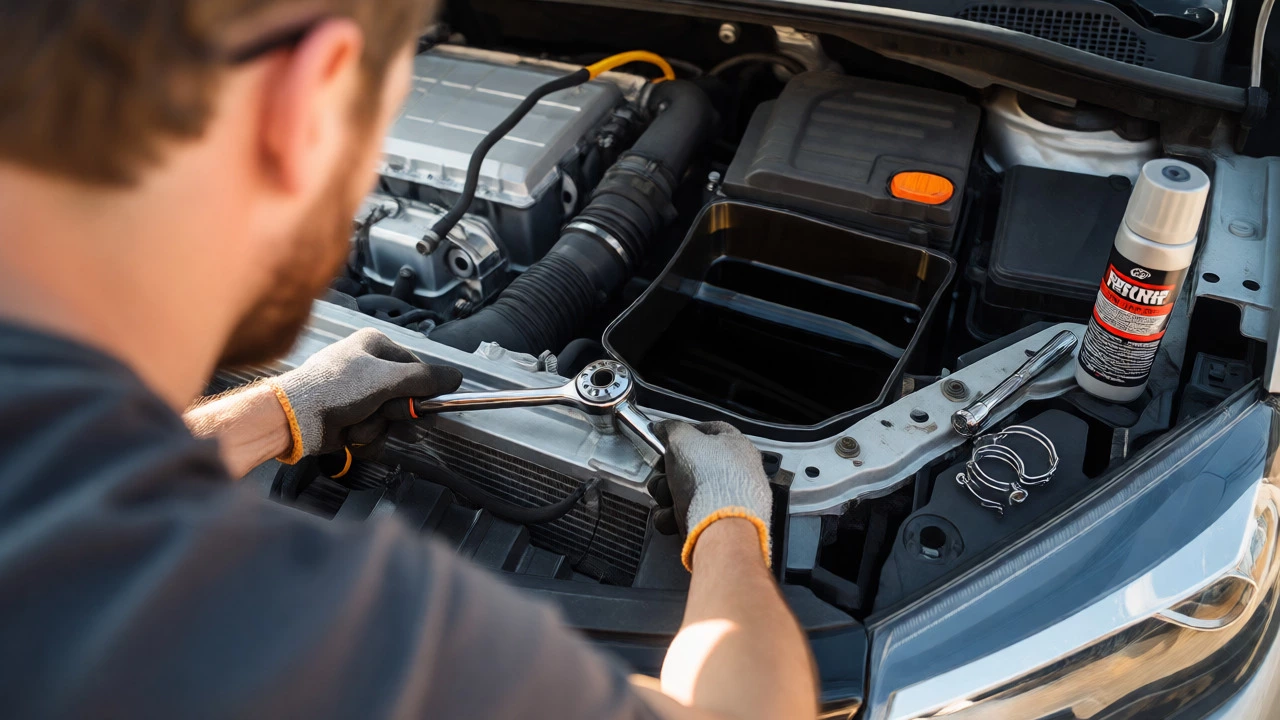
Don’t start unless you have the right gear. Improvising here leads to stripped threads and spilled coolant everywhere. You don’t need a hydraulic lift, but you do need jack stands-never trust a jack alone when you’re under the car draining fluids.
| Item | Why You Need It | Estimated Cost (UK) |
|---|---|---|
| Ratchet & Socket Set | Metric sizes (8mm-14mm usually) for mounting bolts and clamps. | Included in most kits |
| Coolant Hose Clamps | Many modern cars use quick-release connectors or spring clamps requiring specific pliers. | £10-£15 |
| Drain Pan | A wide, low pan to catch 5-10 litres of toxic antifreeze. | £5 |
| New Coolant | Specific type for your engine (HOAT, OAT, etc.). Do not mix types. | £20-£30 |
| Penetrating Oil | WD-40 or PlusGas to free seized bolts without snapping them. | £8 |
One critical note on parts: buy the correct coolant specified by your manufacturer. Using generic green antifreeze in a BMW designed for blue G12 coolant can cause gel-like sludge that clogs your heater core. Check your owner’s manual or the reservoir cap label before you buy anything.
Step-by-Step: The Actual Swap Process
Once you’re ready, follow this sequence to keep things clean and safe. Safety first: never open the radiator cap when the engine is hot. Wait until the temperature gauge reads cold. Burn injuries from pressurized steam are no joke.
- Drain the System: Locate the drain plug on the bottom tank of the radiator (if equipped) or simply loosen the lower hose. Place your drain pan underneath. Squeeze the upper hose gently to push remaining fluid out. Dispose of old coolant properly-it’s poisonous to pets.
- Disconnect Hoses: Use your pliers to release spring clamps or screwdrivers to back off worm-gear clamps. Pull the hoses straight off. Expect a small spill. Cap the hoses immediately if possible to stop debris entering the engine block.
- Remove Obstructions: Take off any fan shrouds, electric fan assemblies, or bumper covers blocking access. Keep screws organized in a cup or taped to cardboard.
- Unbolt the Radiator: Remove the mounting brackets or rubber mounts holding the radiator in place. These are often rubber-isolated to reduce vibration. Note how they sit so you can reinstall them correctly.
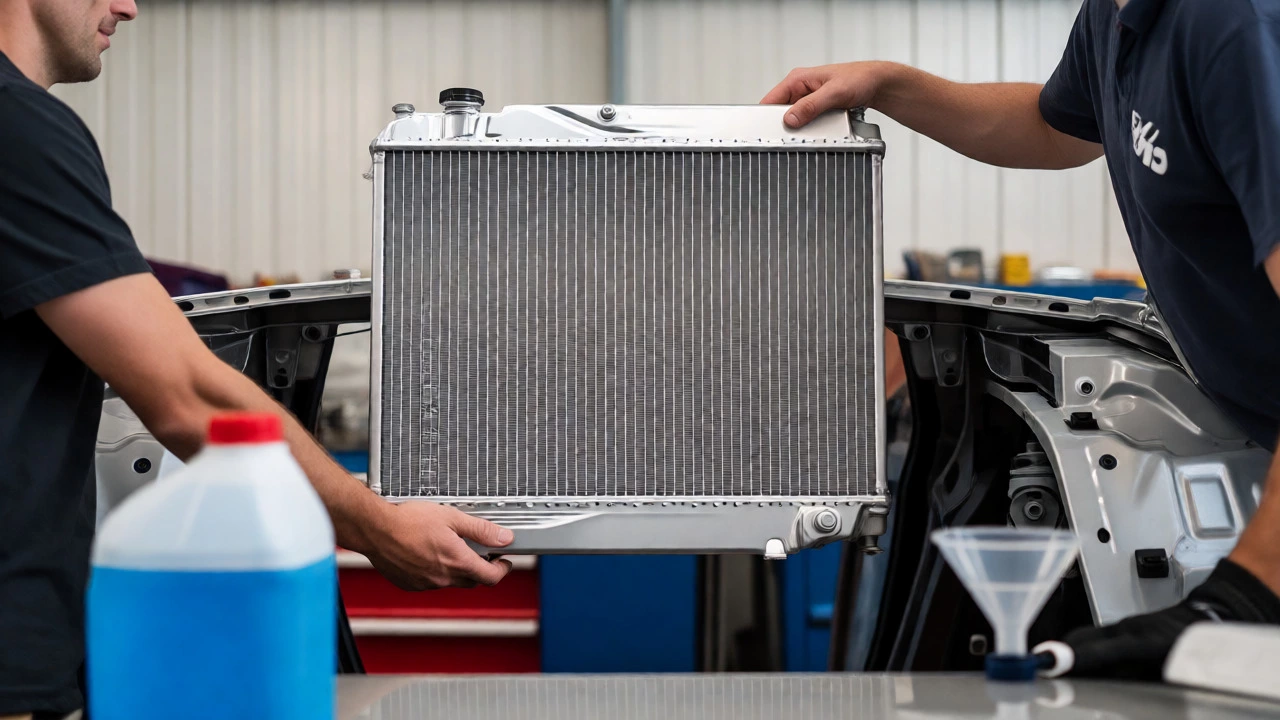
- Lift Out: Tilt the radiator carefully to clear the frame rails. It’s heavier than it looks. Get a helper if it’s an SUV unit.
- Install New Unit: Reverse the steps. Ensure rubber grommets are seated properly to prevent rattles. Hand-tighten bolts first, then torque them snugly-don’t overtighten into aluminium tanks.
- Refill and Bleed: Fill with fresh coolant until the neck is full. Start the engine with the cap off. Let it idle until the thermostat opens (you’ll feel the upper hose get hot). Top off as the level drops. Repeat until stable.
Common Pitfalls That Turn Easy Jobs Into Nightmares
The biggest issue isn’t removing the old part; it’s bleeding the system. Air trapped in the cooling loop acts like an insulator, causing hot spots that can warp your cylinder head. Many cars require a specific bleed procedure involving squeezing hoses while the engine runs, or opening a bleed screw near the thermostat housing. Skip this, and you’ll see fluctuating temperatures on your dash within days.
Another trap is reusing old clamps. Rubber degrades over time due to heat cycles. If you reuse brittle clamps, they won’t seal against the new radiator nipples. Buy new stainless steel clamps-they cost pennies and save hours of chasing leaks.
Also, check your transmission cooler lines if your car has an automatic gearbox. Some radiators integrate these lines directly into the side tanks. If yours does, you’ll need a special tool to disconnect them, and forgetting to plug them means leaking transmission fluid, which is expensive to replace and messy to clean.
When to Call a Professional Instead
Skip the DIY route if your car requires significant disassembly. For example, on many VW Golf Mk7s or Ford Focus models, you must remove the entire front bumper and crash bar to access the radiator. That’s a whole different level of frustration involving hidden clips and electrical sensors. If you’re uncomfortable with that, pay the labour fee.
Similarly, if you suspect a blown head gasket rather than a bad radiator, don’t waste money on parts. Symptoms like white smoke from the exhaust, mayonnaise under the oil cap, or bubbles in the overflow tank point to internal engine issues. A pressure test costs £30-£50 at a shop and will tell you definitively if the radiator is the culprit.
Frequently Asked Questions
How long does it take to change a radiator myself?
For a beginner, expect 3 to 5 hours. Most of this time is spent waiting for the engine to cool, dealing with seized bolts, and bleeding the system properly. An experienced DIYer might finish in 90 minutes on accessible models.
Can I drive my car with a leaking radiator?
Only for very short distances to a safe location. A leak means coolant loss, which leads to overheating. Overheating can destroy your engine in minutes. If you must drive, carry extra water and monitor the temperature gauge constantly.
Do I need to flush the engine block when replacing the radiator?
Yes, ideally. Old coolant leaves residue and rust particles in the engine block. Flushing ensures the new radiator doesn’t get clogged by debris from the old system. Use distilled water for the flush until it runs clear, then fill with proper coolant.
What happens if I mix different types of coolant?
Mixing incompatible chemistries (like silicate-based and organic acid technology) can cause precipitation, forming a sludge that blocks narrow passages in the heater core and radiator. Stick to the manufacturer’s specification to avoid costly cleaning.
Is it cheaper to repair or replace a plastic-tank radiator?
Replacement is almost always better value. Plastic tanks become brittle with age and UV exposure. Even if you fix one crack, another will likely appear nearby soon. New units come with warranties and are relatively inexpensive compared to labour costs.