Radiator Mess Level Calculator
Your estimated mess level will appear here
Key Takeaways
- A radiator swap can be messy, but proper prep limits spills to a few cups of coolant.
- Aluminium and plastic radiators tend to be cleaner than older copper units because they have fewer joints.
- Using a drain pan, sealing the pressure cap, and working on a level surface are the three most effective mess‑control steps.
- Typical tools: socket set, screwdriver, hose‑clamp pliers, and a couple of clean rags.
- Cleaning up takes about 15‑20 minutes if you follow the post‑swap checklist.
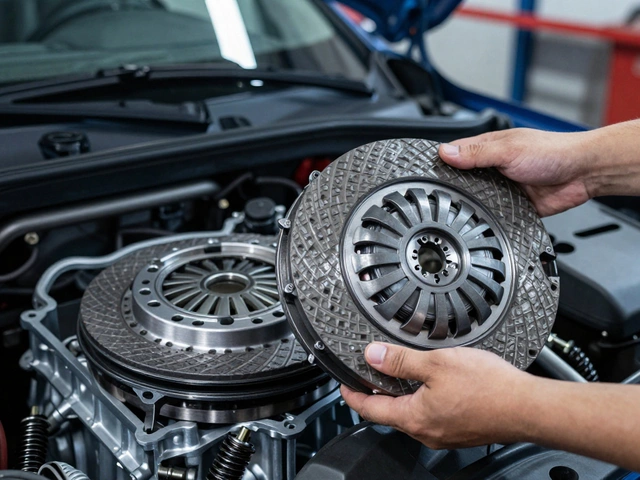
What a Car Radiator Actually Does
When you swap out a car radiator is the core heat‑exchanging component that keeps your engine from overheating, you’re dealing with hot coolant, metal bolts, and a fair amount of space under the hood. The radiator’s job is simple: it takes heat from the engine‑coolant mixture, moves that heat to the surrounding air via thin metal fins, and then returns cooled fluid back to the engine. Because it handles liquid that can turn scalding under pressure, the job can look chaotic if you’re not prepared.
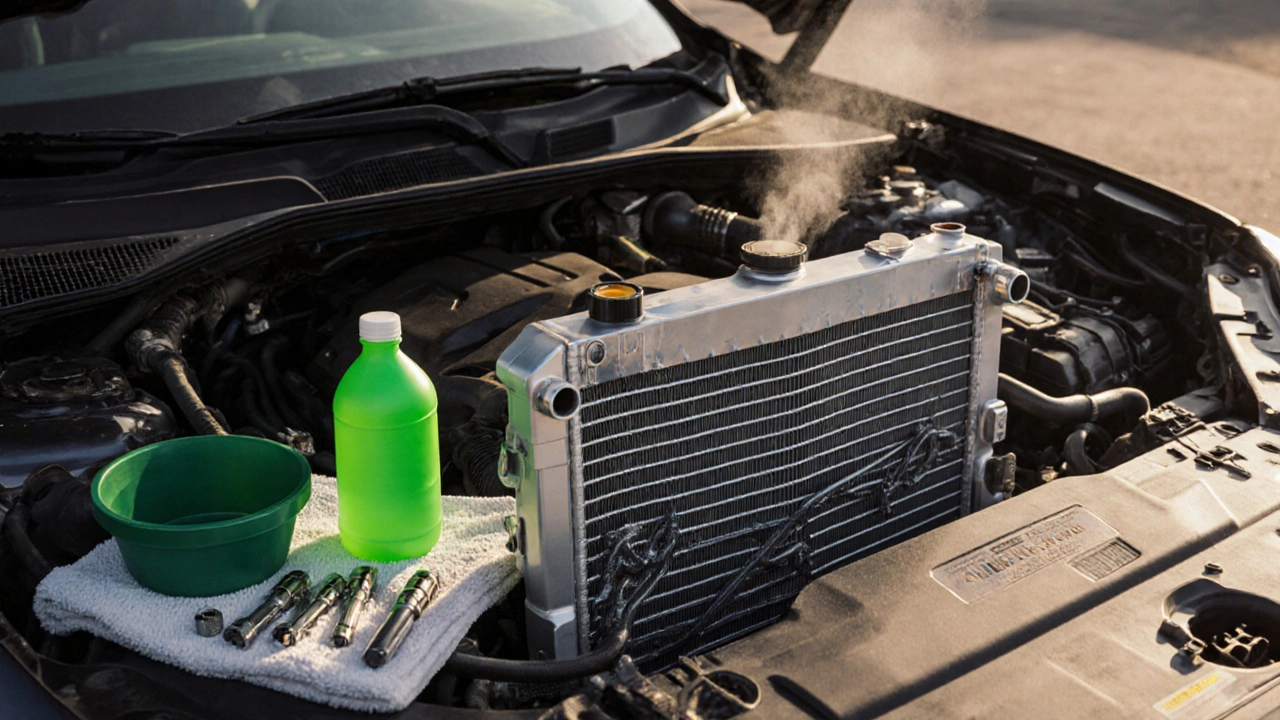
Is It Really That Messy?
The short answer: yes, there’s a chance of mess, but the amount depends on three main things - the type of radiator, how you drain the system, and how tightly you seal everything before you start. A modern plastic or aluminium unit usually has fewer threaded joints, so coolant only leaks out when you disconnect the hose or the pressure cap. Older copper radiators often have more fittings, which means more places for coolant to escape. If you let the engine sit too long before draining, the coolant can settle and spill over when you lift the radiator out.

Factors That Influence How Messy the Job Becomes
Below are the biggest drivers of mess level:
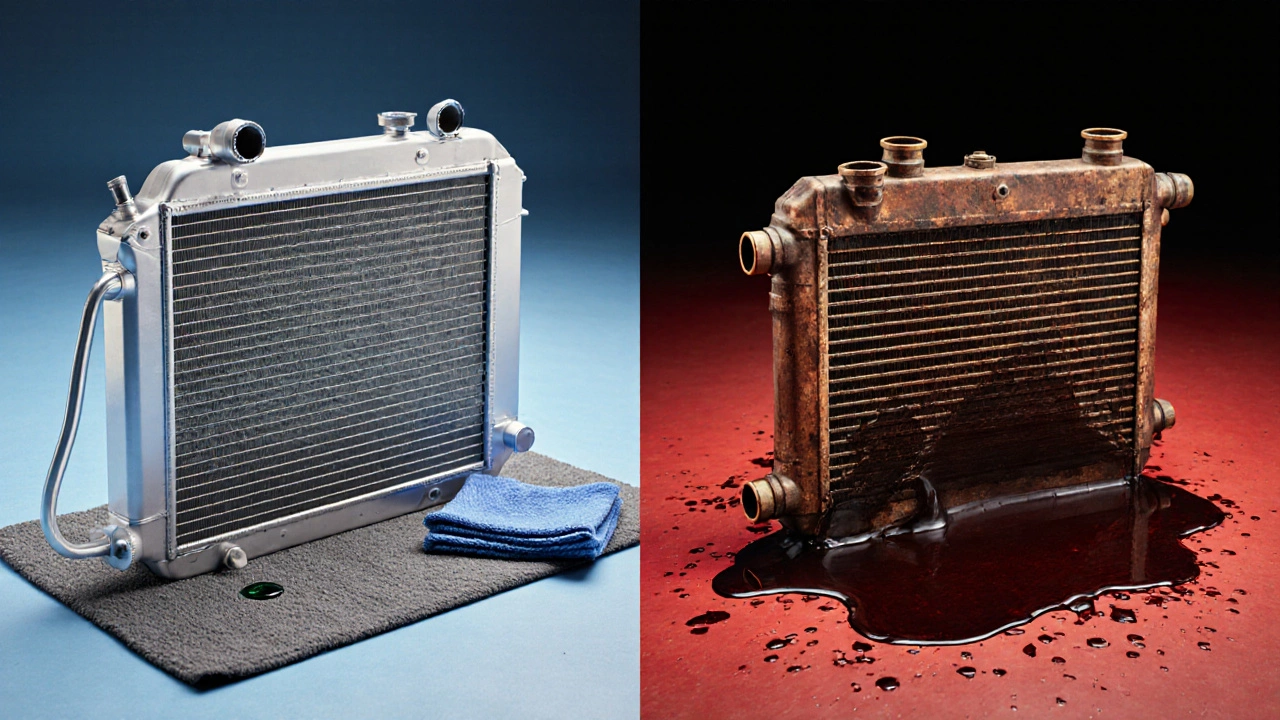
- Radiator material: Aluminium and plastic are lighter and have fewer leak points, while copper radiators are heavier and usually require more fittings.
- Coolant age and condition: Fresh, bright‑green coolant drains cleanly. Dark, rusty coolant leaves residue that’s harder to wipe away.
- Vehicle clearance: Cars with a low bonnet (e.g., sporty hatchbacks) give you less room to work, increasing the chance of splashes.
- Temperature of the engine: Warm coolant expands and can gush out faster when the pressure cap is opened.
Tools and Prep to Keep the Mess Under Control
Gather these items before you pop the hood. The first mention of each tool is marked up for semantic clarity.
- Drain pan is a wide, shallow container that catches coolant as it leaves the system. A 10‑liter pan is usually enough.
- Socket set is a collection of ratchets and sockets (common sizes 10mm, 13mm, 15mm) for removing bolts on the radiator mounts.
- Hose‑clamp pliers are designed to squeeze and release the metal clamps securing radiator hoses.
- Coolant is the antifreeze‑water mixture that circulates through the radiator. Have fresh coolant ready for the refill.
- Pressure cap is the sealed lid on the radiator that maintains system pressure. Keep it handy so you can reseal quickly.
- Radiator hose is the rubber link between the engine and the radiator. Inspect for cracks before re‑installing.
- Thermostat is the valve that regulates coolant flow based on temperature. You may replace it at the same time.
Step‑by‑Step Guide to Replace the Radiator with Minimal Mess
- Park the car on a flat surface, engage the handbrake, and let the engine cool completely (at least 30minutes).
- Open the hood and locate the radiator pressure cap. Loosen it slowly; expect a small hiss as pressure releases.
- Place the drain pan beneath the radiator’s lowest drain plug. If your model has a plug, unscrew it with the appropriate socket.
- Let the coolant fully drain. Tilting the car slightly forward (use a jack to raise the rear if needed) helps guide the fluid into the pan and reduces spillage.
- With the coolant out, use the hose‑clamp pliers to release the upper and lower radiator hoses. Pull them gently to avoid tearing.
- Remove any mounting brackets using the socket set. Keep the bolts in a small container so they don’t roll away.
- Lift the old radiator out. If it’s heavy, ask a friend to help-this prevents the unit from dropping and cracking the underside of the car.
- Inspect the thermostat and the housing for corrosion. Replace if needed.
- Position the new radiator, lining up the mounting points. Tighten bolts evenly (generally a 20‑Nm torque).
- Reconnect the radiator hose on both ends and re‑secure the clamps.
- Close the radiator pressure cap firmly to restore system pressure.
- Fill the system with fresh coolant to the recommended level. Bleed air using the bleed valve if your car has one.
- Start the engine, let it warm up, and check for leaks. If you see any drips, tighten the relevant clamps or bolts.
Cleaning Up After the Swap
When the engine is off and the car is safely parked, follow this quick cleanup checklist:
- Pour any leftover coolant from the drain pan into a sealed container for proper disposal (most UK councils accept coolant at recycling points).
- Wipe the engine bay with a damp rag. If you spilled on the undercarriage, a gentle spray of water and a quick rinse will prevent corrosion.
- Remove the protective covers you may have placed on nearby components (electrical connectors, fuse box) and check they’re dry.
- Dispose of used rags in a metal‑sealed bag-coolant can be toxic to pets.
- Store your tools in a clean box, and note any bolts you had to replace for future reference.
Mess Level Comparison by Radiator Type
| Radiator Type | Typical Joint Count | Coolant Exposure | Mess Rating (1‑5) |
|---|---|---|---|
| Aluminium (modern OEM) | 2-3 | Low - mainly at hose connections | 2 |
| Plastic (economy replacement) | 2 | Low - same as aluminium | 1 |
| Copper (vintage) | 4-6 | Higher - multiple pipe joints | 4 |
| Performance (dual‑pass) | 5-7 | Medium - extra inlet/outlet | 3 |
Quick FAQ
Will the coolant stain my garage floor?
Coolant is typically bright‑green, orange, or pink and can leave a noticeable stain if it sits. Clean any spills within 15minutes with a mixture of water and mild detergent, then rinse thoroughly.
Do I need to replace the thermostat when I change the radiator?
It’s not mandatory, but because the thermostat sits in the same cooling loop, it’s a good idea to inspect it for wear. Replacing it while you’re already in the engine bay saves time later.
Can I reuse the old coolant?
Generally no. Used coolant can contain rust particles and contaminants that diminish cooling efficiency. Drain it completely and use fresh coolant that matches your car’s specifications.
How do I know if I’ve trapped air in the system?
Air pockets cause the temperature gauge to flutter or the heater to blow cold air. Bleeding the system via the bleed valve or by running the engine with the heater on high for several minutes usually releases the air.
Is a jack stand needed for the job?
If your car sits low to the ground, a jack and stand makes it easier to tilt the vehicle and let coolant flow into the pan. It’s not required for every model, but it improves ergonomics and reduces spills.