If you’ve heard a squeal or feel the pedal getting soft, it’s probably time to look at your brake pads. Getting them replaced before they wear out completely keeps you safe and stops the cost of repairing damaged rotors later. This guide walks you through the signs, the tools you need, and a step‑by‑step DIY process that most car owners can handle.
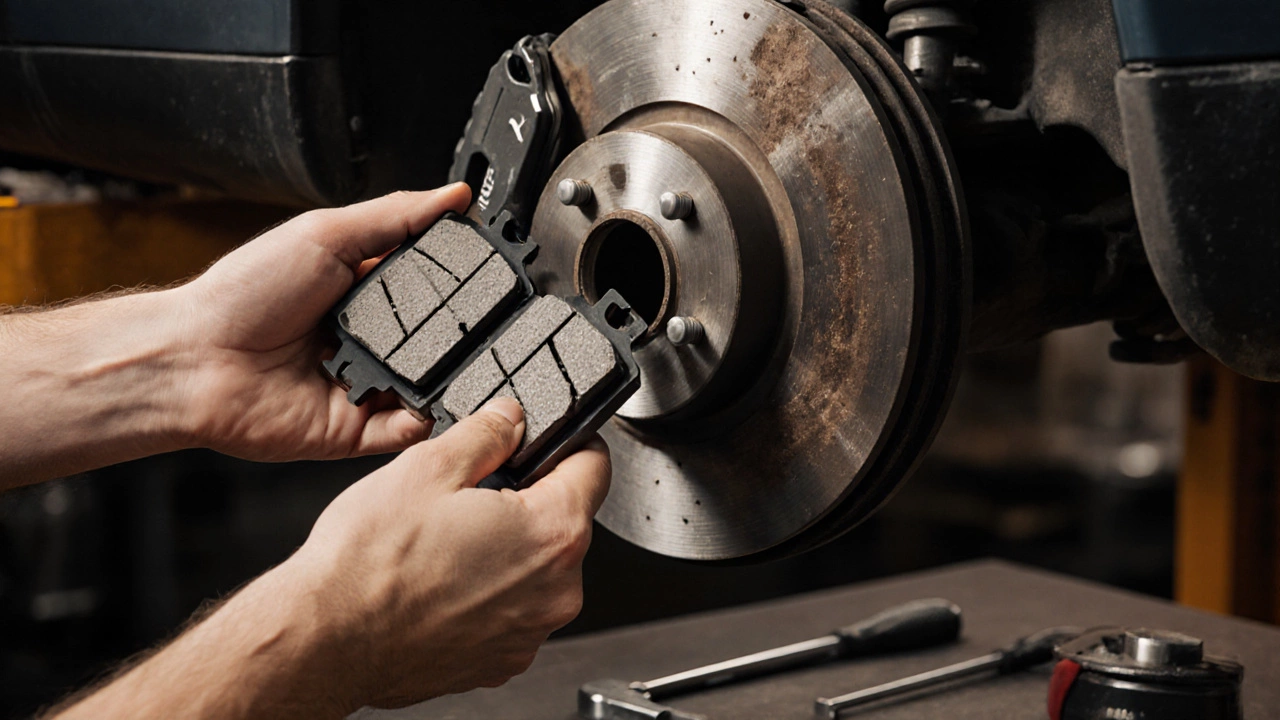
First, you need to know what to listen for. A high‑pitched squeal that goes away when you press the pedal harder usually means the wear indicator is touching the rotor. If you hear a low grinding noise, the pads are already gone and the metal is chewing on the rotor – replace them right away. You can also check the pad thickness yourself: look through the wheel spokes or pop the wheel off and measure the remaining material. Anything under 3 mm is a clear sign to act.
Gather these basics before you start: a jack and stands, a lug wrench, a set of sockets, a C‑clamp or brake caliper tool, and the new brake pads that match your car’s make and model. Safety first – park on a flat surface, engage the parking brake, and chock the wheels that stay on the ground.
1. Loosen the lug nuts on the wheel you’re working on, then lift the car and secure it on stands. 2. Remove the wheel and locate the caliper; you’ll see two bolts holding it to the bracket. Unscrew those bolts and slide the caliper off, being careful not to let the brake hose dangle. 3. The old pads sit against the caliper piston – pull them out and note how they’re positioned. 4. Use the C‑clamp to gently push the piston back into the caliper housing. This creates room for the thicker new pads.
5. Install the new pads, making sure they sit snugly in the same slots as the old ones. 6. Re‑attach the caliper, tighten the bolts to the manufacturer’s torque spec (usually around 90 Nm), and put the wheel back on. 7. Lower the car, tighten the lug nuts in a star pattern, and pump the brake pedal a few times until you feel firm pressure. That pushes the pistons back out to the correct resting point.
After the job, take the car for a short test drive. Listen for any abnormal sounds and feel how the pedal responds. If everything feels solid, you’ve successfully replaced the pads. If the pedal still feels soft, you might have air in the line or a stuck caliper – a quick bleed or a second look at the piston usually fixes it.
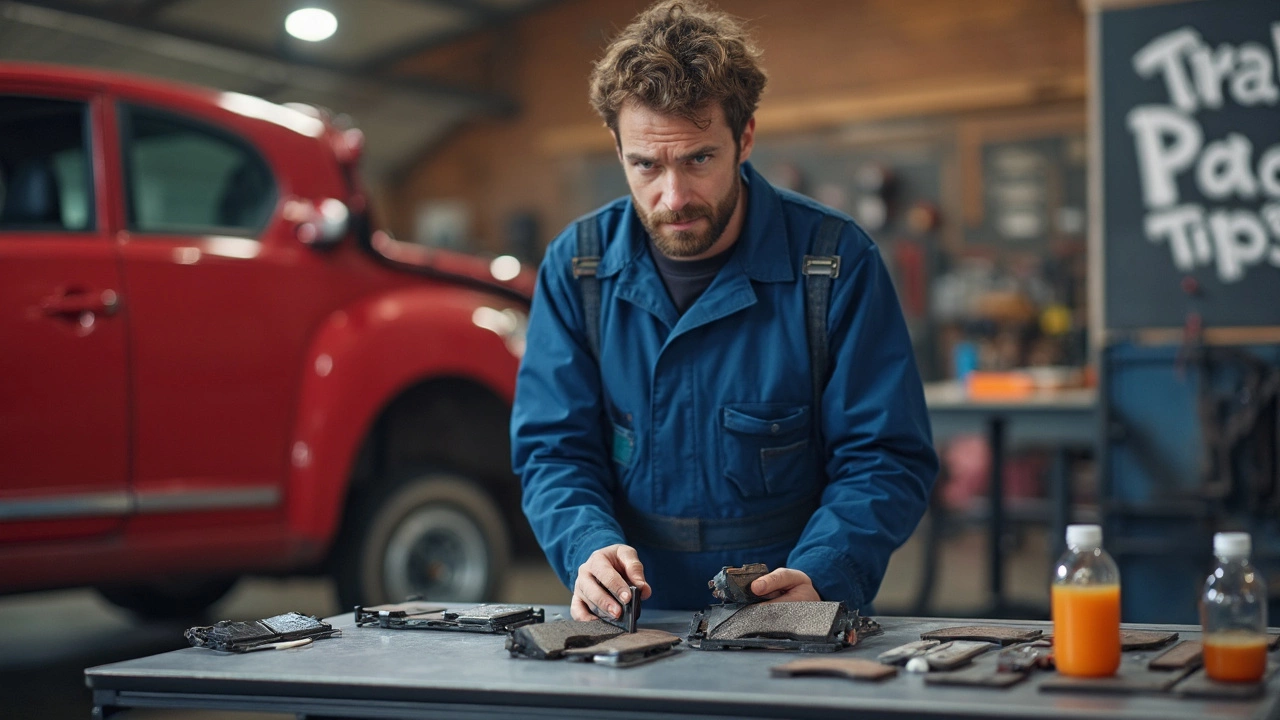
Choosing the right pads matters, too. Organic pads are quiet and gentle on rotors but wear faster, while semi‑metallic pads last longer and handle heat better – great for spirited driving. Ceramic pads stay clean and produce less dust, which many owners love for a tidy wheel well. Match the material to your driving style and budget.
Remember, even a DIY job has limits. If the rotors are warped, cracked, or below the minimum thickness, you’ll need new rotors or professional help. Also, a stuck caliper can cause uneven wear and should be inspected by a mechanic.
Replacing brake pads yourself saves money, teaches you how your car works, and gives you confidence every time you hit the road. Keep an eye on wear, follow the steps above, and enjoy safe braking without breaking the bank.