Car Radiator Replacement: When, How Much & How to Do It Yourself
Notice your engine getting hotter than usual? That could be the first hint that your radiator is on its way out. A failing radiator not only risks overheating but can also lead to costly engine damage. In this guide we’ll show you the key warning signs, break down the typical UK price range for parts and labour, and give you a clear DIY roadmap if you feel confident rolling up your sleeves.
Top Signs Your Radiator Needs Replacement
Before you even think about swapping the part, look for these tell‑tale symptoms:
- Coolant leaks – bright green, orange or pink fluid pooling under the car.
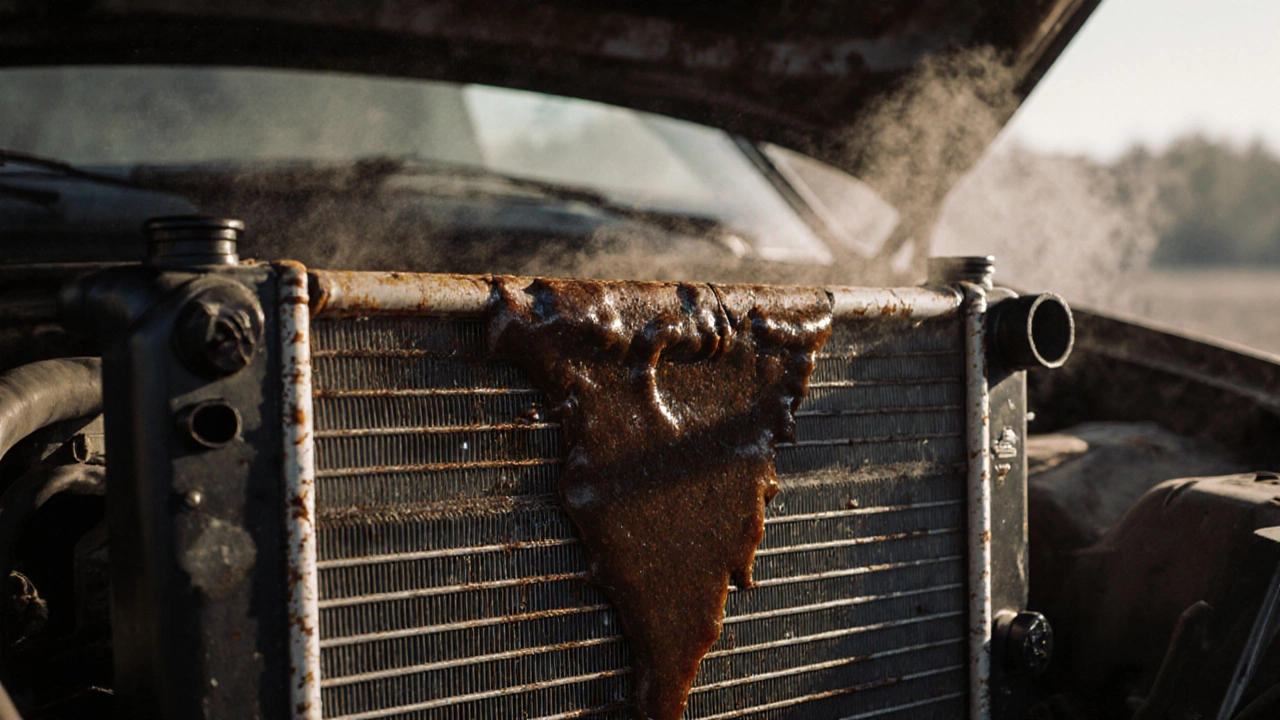
- Engine overheating – temperature gauge stays in the red or steam rolls out of the hood.
- Low coolant level – you keep topping up the reservoir but it drops quickly.
- Rusty or discolored coolant – indicates internal corrosion.
- Whistling or hissing noises – air entering the cooling system through a cracked radiator.
If you spot any of these, it’s time to inspect the radiator more closely. A quick visual check can confirm a crack, a broken fan, or a clogged core.
How Much Does a Radiator Replacement Cost in the UK?
Prices vary by make, model and whether you buy an OEM or aftermarket unit. Here’s a typical breakdown for 2025:
- Parts – £80 to £250 for most common Italian models; high‑performance or specialty radiators can hit £400.
- Labour – UK garages charge £70‑£120 per hour; most replacements take 2‑3 hours, so expect £150‑£350 for labour.
- Taxes & disposal – add about 20% VAT and a small fee for old‑part recycling.
All‑in‑all, a professional job usually lands between £300 and £700. If you buy the part yourself and do the install, you could shave off £150‑£250.
Want the best value? Compare part numbers, read reviews, and check if a refurbished unit meets the same specs. Often a rebuilt radiator from a reputable supplier saves you 30‑40% without sacrificing reliability.
DIY Radiator Replacement – Step by Step
Feeling handy? Replacing a radiator isn’t rocket science, but it does need some basic tools and safety care.
- Gather tools: socket set, screwdrivers, pliers, hose clamps, drain pan, and a torque wrench for final bolts.
- Cool the engine: let the car sit for at least 30 minutes after a drive. Hot coolant can cause burns.
- Drain the coolant: open the radiator drain plug, let the fluid flow into the pan, and close the plug.
- Remove hoses: loosen the clamp nuts on the upper and lower radiator hoses, twist them off, and tag each hose so you remember where it goes.
- Take out the radiator: unbolt the mounting brackets, disconnect the fan and any sensor plugs, then carefully lift the radiator out.
- Prep the new unit: compare it to the old one, ensure the outlet/inlet ports line up, and install any new thermostat housing if needed.
- Install the new radiator: reverse the removal steps – bolt the brackets, reconnect the fan, plug in sensors, and reattach the hoses.
- Refill coolant: use a 50/50 mix of antifreeze and distilled water, fill until the reservoir reaches the “max” line, then bleed air by running the engine with the radiator cap off until the thermostat opens.
- Check for leaks: inspect all connections, tighten any loose clamps, and run the engine for 10‑15 minutes while watching the temperature gauge.
If everything stays dry and the temperature stays normal, you’ve done it! Keep an eye on the coolant level for the first few days and top up if needed.
Remember, a proper radiator replacement not only prevents overheating but can also improve fuel efficiency and engine longevity. Whether you choose a professional fit or tackle it yourself, knowing the signs, costs and steps will save you time, money, and a lot of hassle.