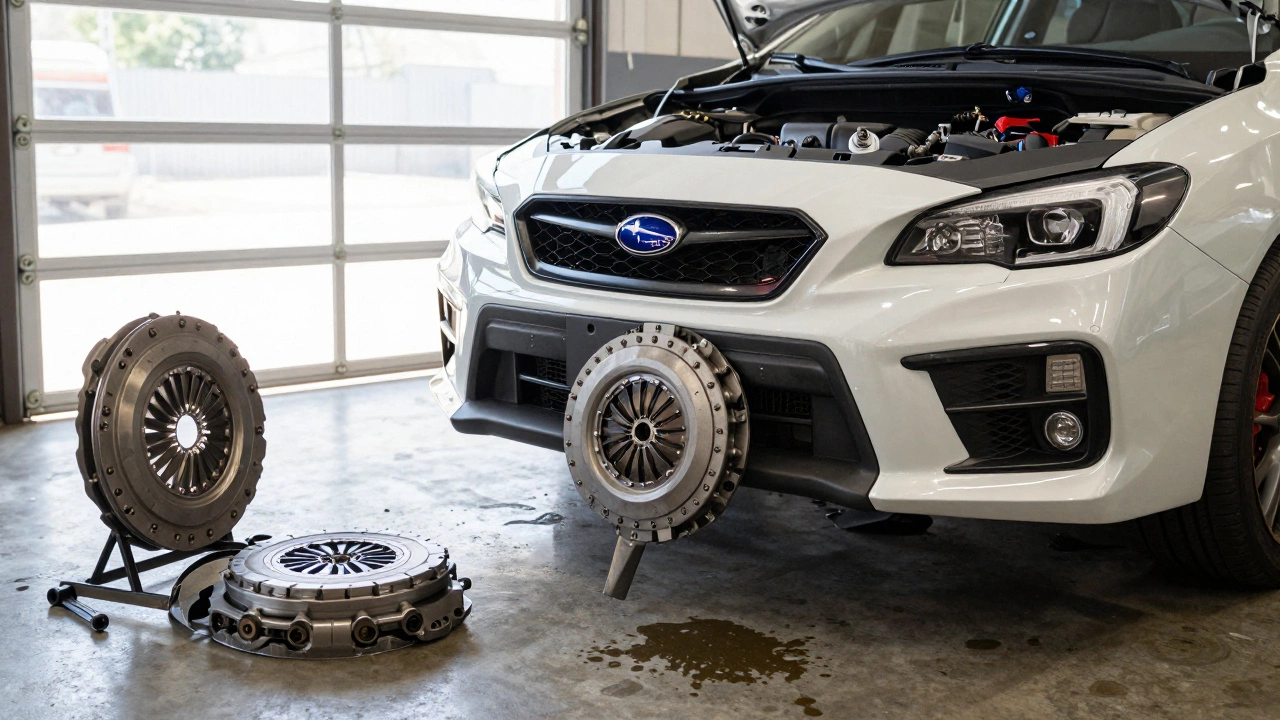
If you drive a manual car, the clutch is the heart of the shifting experience. A clutch kit bundles the disc, pressure plate, release bearing and related hardware into a single package, making replacement or upgrade a lot easier. Whether you’re fixing a worn clutch or hunting for more torque, the right kit can bring smoother gear changes, better power transfer, and longer life.
Most kits fall into three practical groups:
When you compare kits, watch the torque rating, pedal effort, and warranty. A higher torque rating means the kit can handle more engine output, but it often translates to a stiffer pedal. Choose what feels right for your driving style.
First, verify the kit matches your car’s make, model, and transmission type. Most online stores let you filter by year and engine size – use that to avoid a mismatch. Next, check what’s included. Some kits ship with a flywheel, others don’t. If your flywheel shows cracks or hot spots, replace it at the same time; it saves a second visit to the shop.
Installation can be a weekend DIY project if you have basic tools: a torque wrench, flywheel holder, and a clutch alignment tool. The steps are pretty straightforward:
Don’t forget to break in the new clutch. Drive gently for the first 150‑200 miles: avoid high‑rev launches and shift smoothly. This lets the friction material bed in and reduces early wear.
Maintenance tip: listen for squeals or feel a spongy pedal. Those are early signs that the release bearing or pressure plate is wearing out. Catching problems early can save a whole kit replacement later.
Bottom line: a good clutch kit keeps your manual car fun and reliable. Pick the type that matches how you drive, double‑check fitment, and follow the basic install steps. With a little care, you’ll enjoy crisp shifts and a longer‑lasting drivetrain for years to come.