When working with DIY brake pad replacement, the process of changing your own brake pads without a garage. Also known as home brake service, it lets you save money and understand how your braking system works. Brake pads, the friction material that presses against the rotor to slow the car are the core component you’ll be handling. Brake rotors, the metal discs that the pads clamp onto work hand‑in‑hand with the pads, so their condition matters too. Finally, a basic brake inspection, a quick visual and tactile check of pad thickness, rotor wear and hardware should be your first step. DIY brake pad replacement encompasses pad wear assessment, requires a few hand tools, and directly influences overall braking performance.
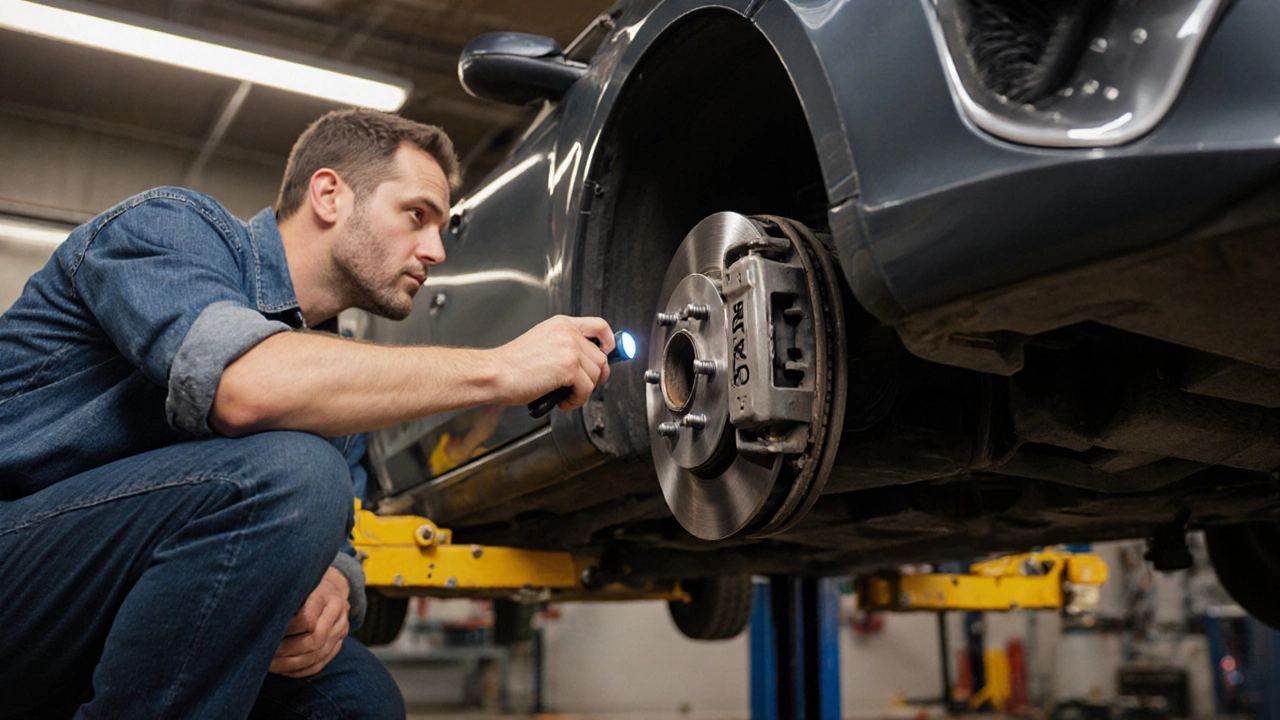
First, measure pad thickness. Most manufacturers recommend replacement around 3 mm of material left – anything less means diminished stopping power. Next, inspect the rotors for scoring or warping; if they’re beyond the specified run‑out tolerance, you’ll need to resurface or replace them. Gather a basic tool kit: a lug wrench, a socket set (usually 13 mm or 14 mm for caliper bolts), a C‑clamp or brake piston tool, and a torque wrench to tighten bolts to spec. Safety gear is a must – gloves, eye protection, and a sturdy jack stand to keep the car stable. Once the car is lifted, remove the wheel, detach the caliper, compress the piston, and slide the old pads out. Install the new pads, reseat the caliper, and double‑check bolt torque. Finally, pump the brake pedal a few times to seat the pads against the rotors before you hit the road.
By following these steps you’ll avoid common pitfalls like uneven pad wear or sticking calipers. The articles below dive deeper into each subtopic: how to spot worn pads quickly, the cost of quality brake components, and tips for checking rotor health. Whether you’re a first‑timer or looking to sharpen your DIY skills, the next posts give you the details you need to keep your car stopping safely and confidently.