If your engine is coughing, stalling or just won’t start, the fuel pump could be the culprit. Replacing a fuel pump isn’t rocket science, but you do need the right tools, a bit of patience, and safety first. This guide walks you through everything you need to know – from cost and tools to a step‑by‑step walk‑through – so you can decide whether to roll up your sleeves or hand the job to a mechanic.
Before you crack open the fuel tank, gather these basics:
Most DIY shops will also sell a fuel filter and a gasket set. Replacing these while you’re in there saves you a future trip.
1. Relieve fuel system pressure. Locate the fuel pump relay in the fuse box and pull it, then start the engine for a few seconds. The engine will sputter and die, dropping the pressure in the lines.
2. Disconnect the battery. A dead battery prevents accidental sparks. Remove the negative terminal and set it aside.
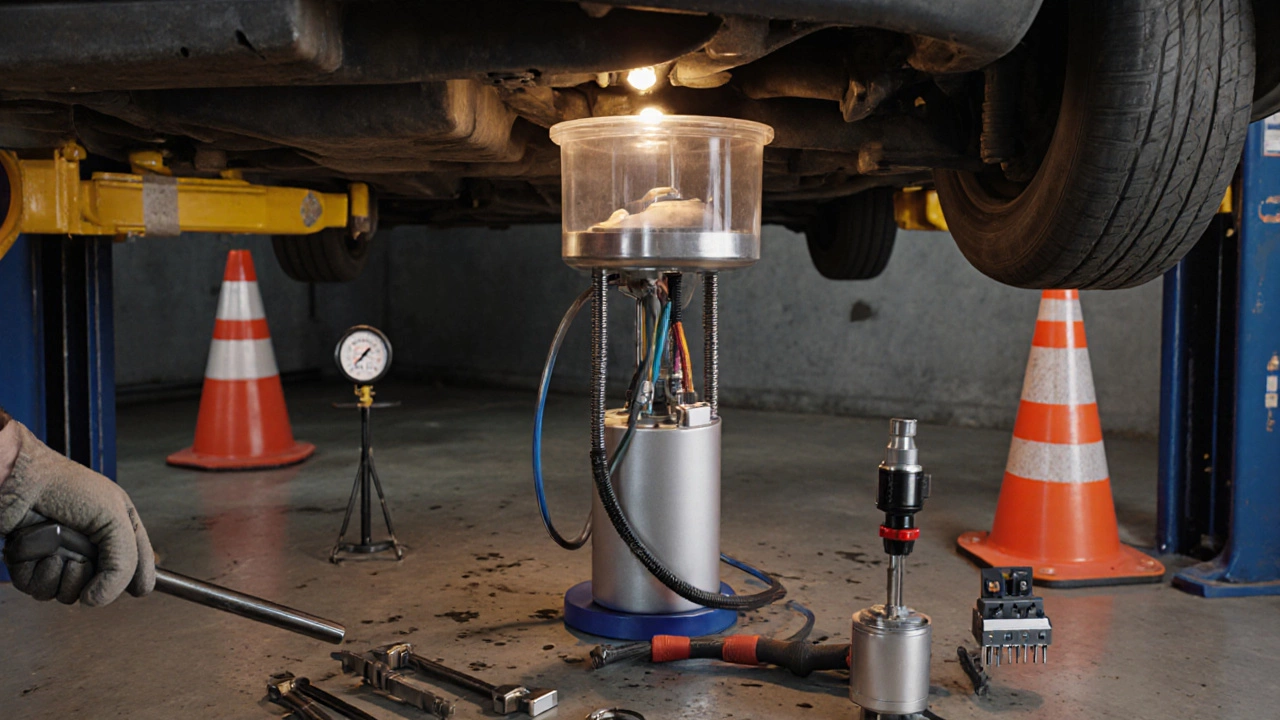
3. Access the pump. Some cars have a removable panel under the rear seat, others require dropping the fuel tank. Follow your vehicle’s service manual – the panel route is usually quicker.
4. Drain the tank. Use the pan to catch any remaining fuel when you loosen the tank straps. Tilt the tank gently; fuel will flow out through the pump opening.
5. Unplug the electrical connectors. Use the pullers to avoid breaking the clips. Note the order of the wires – a quick photo helps.
6. Remove the old pump. Unscrew the retaining bolts (usually two or three) and lift the pump out. Watch out for the fuel level sensor attached to the pump; it stays with the unit.
7. Install the new pump. Place the new unit, tighten the bolts to the torque spec, and reconnect the wiring. Make sure the gasket seals are seated flat to avoid leaks.
8. Re‑fit the tank or panel. Secure the tank straps or snap the access panel back in place.
9. Re‑connect the battery and relay. Turn the key to the “ON” position (don’t start the engine) and listen for the pump’s whirr. If you hear it, the pump is getting power.
10. Test for leaks. Start the engine and watch the pump area for any drips. A few seconds of idle is enough to confirm everything is sealed.
That’s it! Most DIYers finish the job in 2‑3 hours, depending on how easy it is to get to the pump. If you hit rusted bolts, a stuck fuel line or an unusual fuel tank design, it might be smarter to call a professional – the cost of a missed leak can outweigh a few extra labor hours.
When it comes to cost, a standard fuel pump for a common European model runs between £80‑£150, plus about £30‑£50 for a filter and gasket kit. Labor at a garage averages £80‑£120 per hour, so doing it yourself can save you £100‑£200.Bottom line: If you’re comfortable with basic hand tools, have a clean workspace and follow safety steps, replacing a fuel pump is a doable DIY project. Otherwise, a quick visit to a trusted mechanic will get you back on the road without the risk of a fuel leak. Happy fixing!